As a craftsman with 15 years of experience in both woodworking and metalworking, I’ve learned that the right marking tools can make or break a project.
When I first started, I made the mistake of using my woodworking marking gauge on metal a costly error that taught me valuable lessons about tool specialization.
Table of Contents
Basic Woodworking vs. Metalworking Tools
Material properties fundamentally dictate tool design. In my workshop, I keep wood and metal marking tools completely separate.
Wood, being softer and more forgiving, requires gentler marking tools that won’t tear fibres.
Metal, on the other hand, demands harder, more durable tools that can create visible lines on tough surfaces.
Hammers
Hammers for Woodworking
My collection of woodworking hammers includes wooden mallets and brass-headed hammers.
These tools deliver softer blows that prevent denting the workpiece. I particularly value my beechwood mallet for its shock absorption and gentle impact, perfect for chisel work and delicate joinery.
Hammers for Metalworking
My metalworking hammers feature hardened steel heads with various face patterns. Cross-pein and straight-pein hammers help shape metal precisely.
The weight distribution differs significantly from woodworking hammers – I need more mass behind each strike when working with metal.
Clamps
Clamps for Woodworking
Wood requires careful pressure distribution to prevent surface damage. I’ve equipped my wooden clamps with cork or rubber pads.
For glue-ups, I prefer F-style clamps with wide jaws that spread pressure evenly across the wood surface.
Clamps for Metalworking
Metal clamps in my shop are built differently – they’re heavier and more robust. C-clamps with V-groove jaws hold round stock securely during welding.
Heat resistance is crucial; I learned this after melting the padding on a woodworking clamp during a welding project.
Holesaws
Hole Saws for Woodworking
Wood hole saws in my toolkit have aggressive teeth patterns that clear chips efficiently.
I run them at higher speeds, typically 800-1000 RPM for clean cuts. The pilot bit design prevents wandering and helps achieve precise hole placement.
Hole Saws for Metalworking
Metal hole saws require slower speeds and constant lubrication. My bi-metal saws have finer teeth and thicker walls to handle the stress.
I keep cutting oil nearby and take frequent breaks to prevent overheating.
Cutting Tools
Saws for Woodworking
Wood grain direction influences cut quality. My Japanese pull saws create thin kerfs and smooth cuts.
The teeth are set wider than metalworking saws to prevent binding in the softer material.
Saws for Metalworking
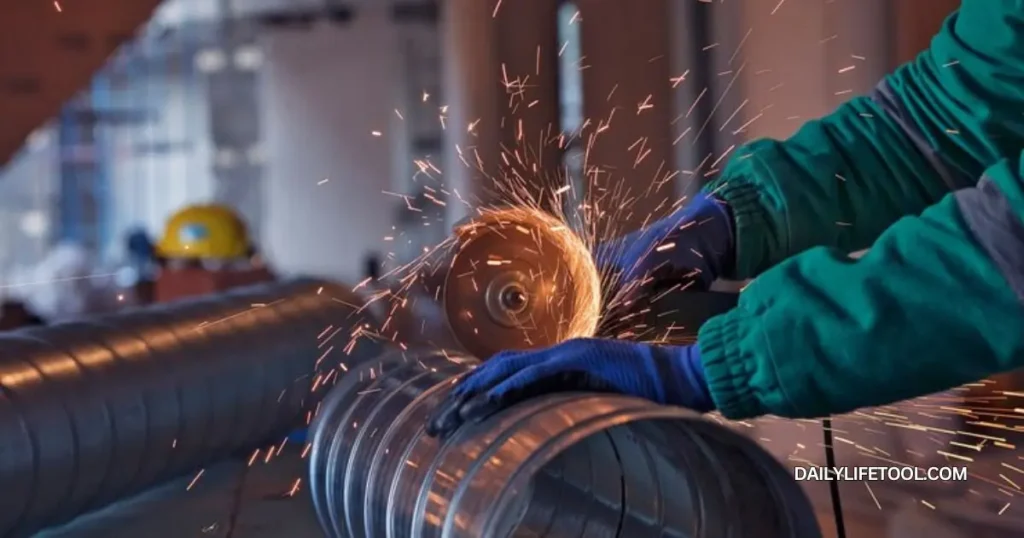
Metal cutting demands different approaches. My metal-cutting saws have hardened teeth with special geometries.
I’ve found that slower cutting speeds with proper lubrication produce the best results.
- Choose the Best 19 Wood Cutting Tools of 2024 | Daily Life Tools
- Best 10 Milwaukee Cutting Tools: The Perfect Companion for Your DIY Projects
Measuring Tools
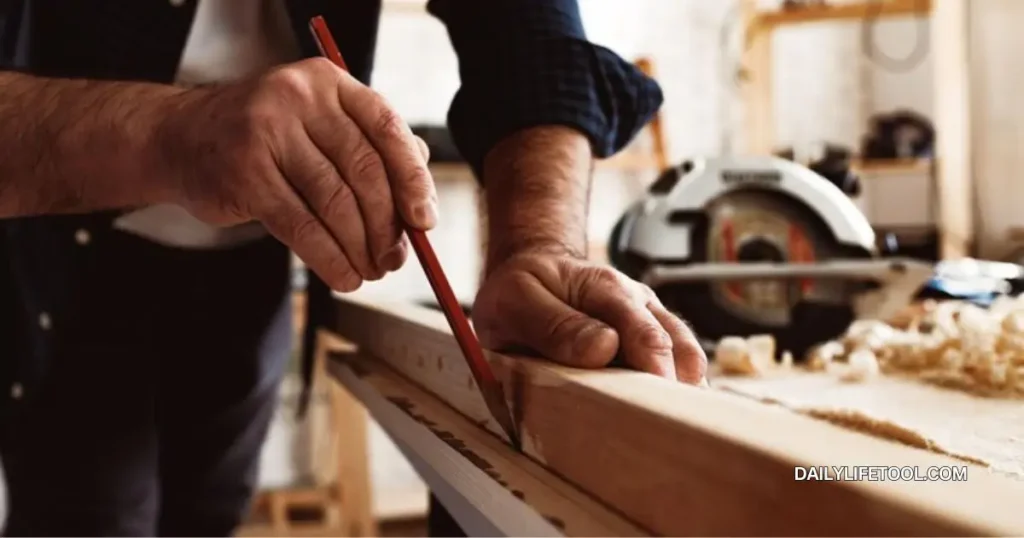
Measuring Tools for Woodworking
Wood moves with humidity changes, affecting measurements. I rely on wooden rulers and marking gauges that expand and contract with the wood. Digital callipers come in handy for precise joinery work.
Measuring Tools for Metalworking
Precision is paramount in metalworking. My digital micrometres and dial callipers measure to thousandths of an inch.
Temperature compensation becomes critical when working with large metal pieces.
- 5 Best Mechanical Carpenter Pencils for Accuracy Measurement
- Choose the Best Scribing Tool for Marking the Measurement of Your Job
Worktables
Worktables for Woodworking
My woodworking bench features a solid maple top with dog holes for securing work. The surface is flat but slightly softer than metal, preventing workpiece damage during planning or chiselling.
Workbenches for Metalworking
The metalworking bench has a steel top that can handle heat and heavy impacts. I’ve integrated a vice and multiple T-slots for securing materials during machining operations.
Drilling
Drill Bits for Woodworking
Wood-specific bits in my collection have sharp spurs to prevent tear-out. Brad-point bits create clean entry holes, while Forstner bits excel at flat-bottomed holes.
Drill Bits for Metalworking
My metal drill bits have different point angles and require steady pressure. Cobalt bits handle high temperatures better, and I always use cutting fluid for longer bit life.
Air Hammer Bits: Best Tool for Power Drilling
Dust Collection
Dust Collection for Woodworking
Wood dust poses serious health risks. I’ve installed a two-stage dust collection system with fine filters to capture particles down to 1 micron.
Dust Collection for Metalworking
Metal chips and dust require different handling. My metal dust collection system includes spark arrestors and magnetic separators to prevent fire hazards.
Marking
Marking for Woodworking
I use marking knives rather than pencils for precise joinery. My wooden marking gauges follow grain patterns naturally and leave clean lines without tearing fibres.
Marking for Metalworking
Metal marking demands scribes and layout fluid. My carbide-tipped scribes create visible lines on hardened surfaces, while blue layout fluid makes marks stand out clearly.
Through years of experience, I’ve learned that investing in proper tools for each material saves time and improves results.
Whether you’re working with wood or metal, understanding these key differences helps achieve professional results.
Remember, successful craftsmanship starts with selecting the right tool for the material at hand.
Conclusion: Woodworking Scribing Tools vs. Metalworking Scribes
After spending countless hours in my workshop, I’ve come to appreciate that the true art of craftsmanship lies not just in skill, but in understanding your tools intimately.
Just as a painter wouldn’t use a chisel to create a masterpiece, woodworkers and metalworkers need their specialized marking tools to achieve precision and excellence.
Remember how we started this journey discussing my early mistake of using woodworking gauges on metal?
That experience taught me that respecting material differences is fundamental to success.
Whether you’re scribing delicate grain patterns in cherry wood or marking precise cutting lines on stainless steel, choosing the right tool makes all the difference.
Here are the key takeaways I’ve learned over my 15 years of working with both materials:
- Wood responds best to tools that work with its natural properties, like marking knives that slice rather than tear fibres
- Metal requires harder, more durable tools that can create visible lines without excessive pressure
- Different materials demand different approaches to measurement, clamping, and dust management
- Investing in material-specific tools ultimately saves time and improves quality
Looking ahead, I encourage you to examine your toolkit. Are you using the right tool for each material?
Have you been compromising precision by using woodworking tools on metal, or vice versa?
Sometimes, making a small investment in the proper marking tool can dramatically improve your results.
As you head back to your workshop, remember that mastery comes from both knowledge and proper tool selection.
Your scribing tools are your project’s foundation – choose them wisely, use them properly, and watch your craftsmanship soar to new heights.
The next time you pick up a marking gauge or scribe, think about the material you’re working with.
Your understanding of these fundamental differences will guide you toward creating pieces that aren’t just well-made, but truly exceptional.
After all, in the world of craftsmanship, the right tool isn’t just a luxury – it’s the key to unlocking your full potential.
Can I use woodworking hammers for metalwork?
No. Use ball peen hammers for metalwork – they’re specially designed with hardened steel heads for metal shaping and won’t get damaged as woodworking hammers would.
Why do I need different measuring tools for wood versus metal?
Metal projects often require precision down to thousandths of an inch, needing digital callipers. Wood projects can typically use standard measuring tapes since wood naturally expands and contracts.
What’s the quickest way to mark metal versus wood?
Use a pencil or chalk line for wood. For metal, use a Sharpie marker or metal scribe – pencil marks won’t show up well on metal surfaces.
Can I use the same clamps for both wood and metal projects?
While metal clamps can work on wood, they may leave marks. Use plastic-padded clamps for wood to protect the surface, and metal C-clamps for metalworking.
Do I need separate dust collection systems for wood and metal?
Yes. Wood dust needs standard shop vacuums, while metal requires spark-resistant systems with downdraft tables to handle hot metal particles safely.
Related Links:
- Home Page
- Follow in Pinterest
- Teds Woodworking Review – 16,000 Woodworking Projects
- How to Choose the Right Type of Wood Rasp? A Complete Guide
- What Should be Used to Strike a Wood Chisel? in 2025
- What Are Metal Scribing Tools, and How Are They Used? (6 Quick Steps)
- Complete Guide to Scribing Tools: 7 Types and Uses for Precision Marking
- 5 Best Carpenters Scribing tool for Easy and Precise Marking
- How to Use Digital Calipers Accurately?
- Chisel Maintenance & Storage: The Ultimate Guide to Longevity


