Before exploring the Top 56 Hand Tools for Woodworkers and Carpenters Needs, let’s focus on what counts: you, the craftsperson. Whether you’re a DIY enthusiast or a seasoned pro, your tools can make or break your projects solving frustrations, streamlining your work, and elevating your craftsmanship.
This guide goes beyond a simple list. We’ll explain why these tools matter, what to look for when buying them, and share insights like how a moisture meter saves your work from warping based on what woodworkers use.
What’s Inside: We’ve grouped these essentials into four key categories:
- Essential Woodworking Hand Tools – Your workshop’s backbone
- Furniture & Storage – Precision and organization tools
- Power Tools You Should Own – Boosting Efficiency
- Non-Tool Tools – Overlooked must-haves
Each hand tool comes with its purpose, key features, and pro tips to maximize your investment. Let’s dive in.
These capture the core ideas efficiently!
Table of Contents
56 Hand Tools for Woodworkers and Carpenters
1. Hammers
The Claw Hammer: A versatile tool for driving nails and prying materials apart
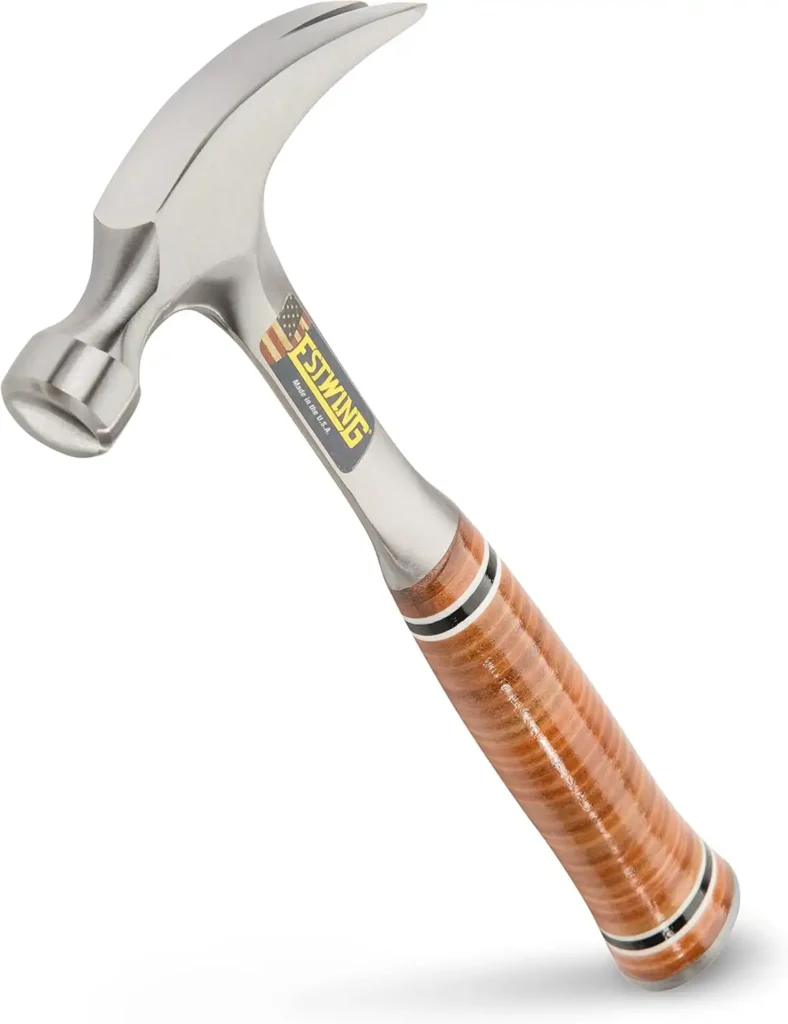
Let’s start with a tool everyone knows: the claw hammer. It’s built for two jobs driving nails with its rounded head and pulling them out with its claw.
Simple, right? There’s also a waffle-head version for construction, but it leaves marks, so skip it for woodworking.
Most people grab a 20 oz. claw hammer it’s heavy enough to pound nails but light enough to yank them out easily. Wooden handles look nice and feel good, soaking up the shock when you hammer.
But if you’re pulling lots of nails, they might break. Steel or fiberglass handles last longer, though they vibrate more get one with a rubber grip for comfort. For lots of hammering, wood’s gentler on your hands.
2. Measuring and Layout Tools
The Tape Measure: Essential for precise measurements in any project
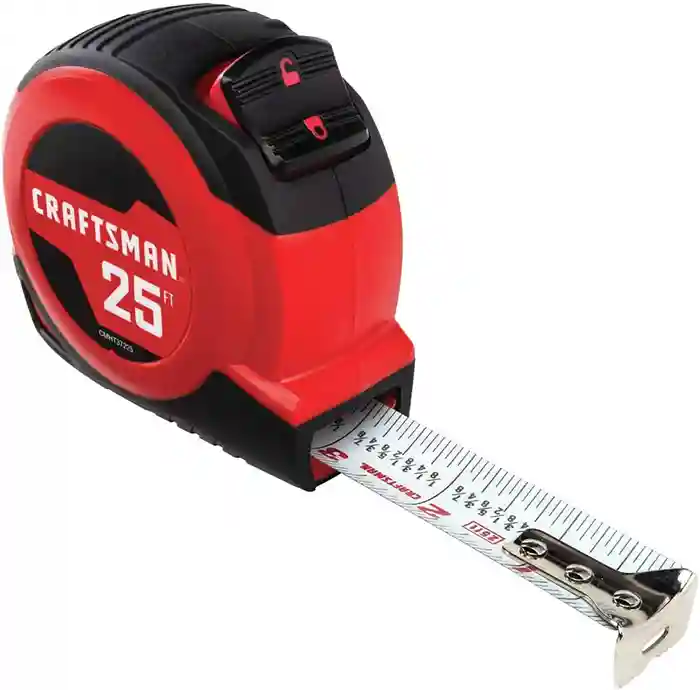
Next up is a tool every beginner woodworker and carpenter needs: a good tape measure. Grab a retractable one that’s at least 25 feet long perfect for most projects. Longer ones can be tricky to roll back up.
Why’s it so important? Even tiny mistakes in measuring can mess up big projects. Make sure the hook (that little metal tab at the end) is tight and doesn’t wiggle.
If it’s loose, your measurements could be off by up to 1/8 inch. That might not sound like much, but it can ruin your work over time. A solid tape measure keeps things accurate and easy.
The Level: Ensures flat and even surfaces
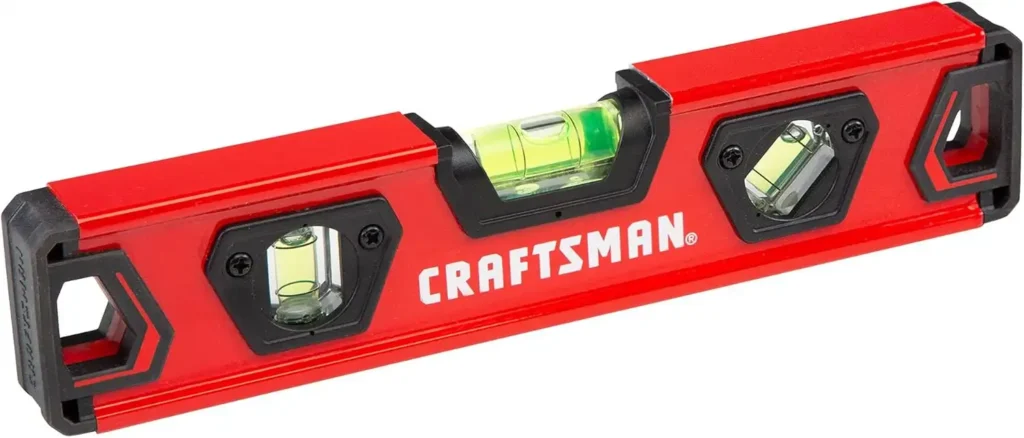
A level is a must for any beginner woodworker or carpenter to keep projects straight. You don’t need a huge 6-foot one like builders use a 48” level works great for most woodworking tasks.
You’ll also want a small 8” version, called a torpedo level. It’s perfect for tight spots. Levels check two things: “level” (side-to-side flatness) and “plumb” (up-and-down straightness). With these, your shelves or frames won’t end up crooked!
The Sliding Bevel: Transfers angles accurately
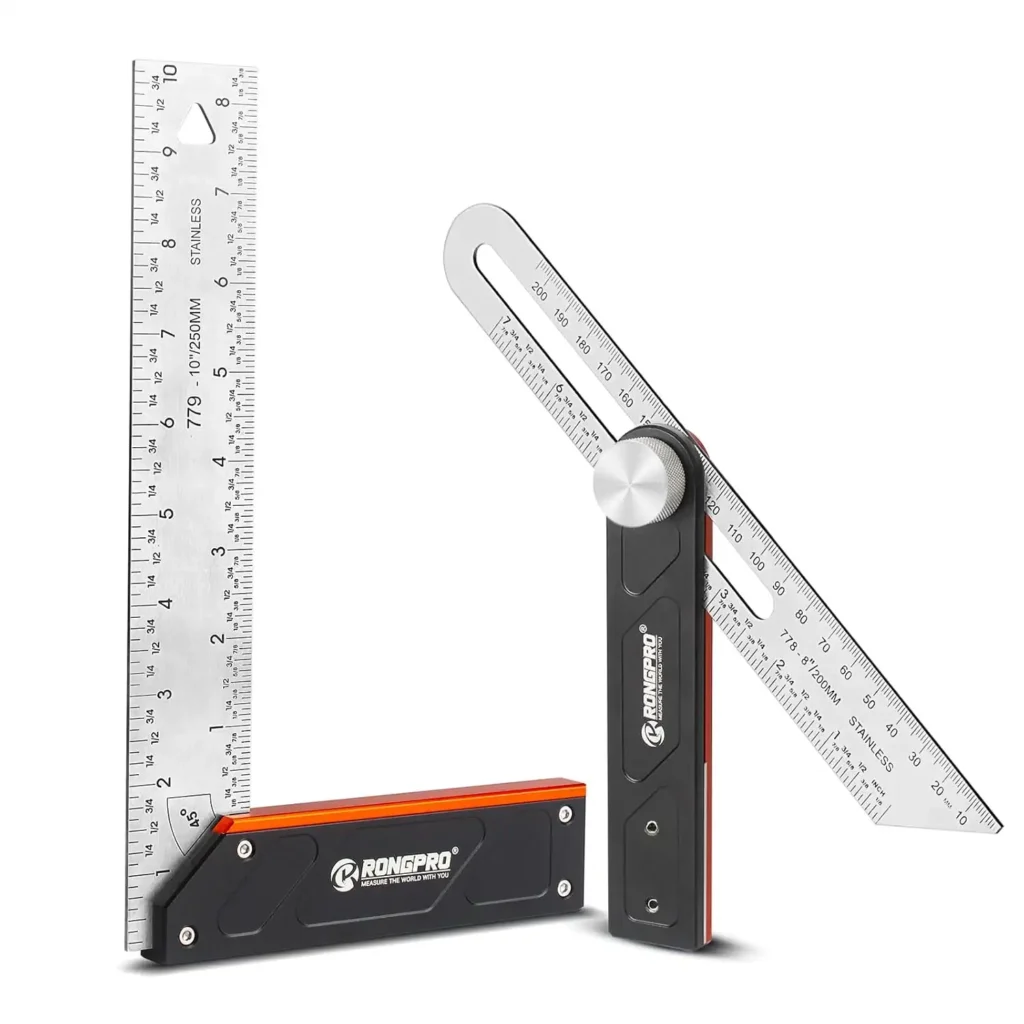
Need to mark a lot of angles? A sliding bevel, or T-Bevel, is your go-to tool. You can adjust it to any angle, lock it in place, and mark it as many times as you need. It’s a quick, easy way to keep your cuts spot-on without fussing over each one.
The Layout Square: Perfect for marking 90-degree angles
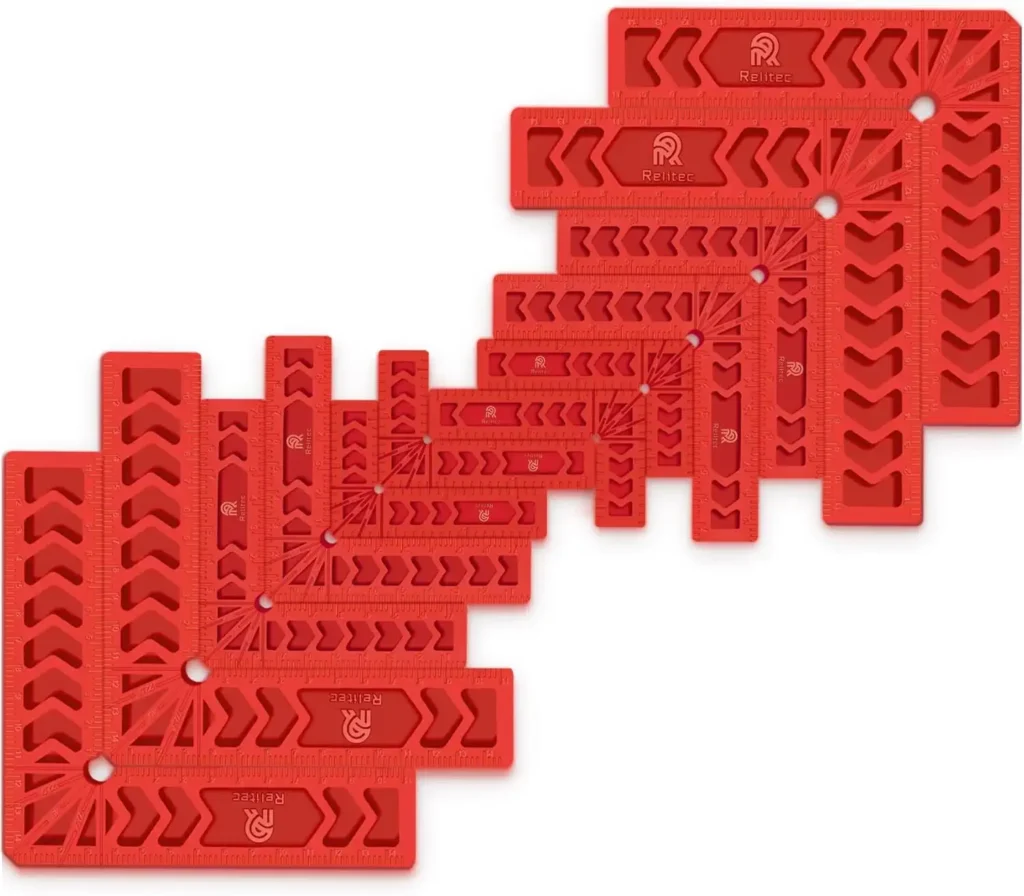
A layout square, also called a combination square, comes in 6” or 12” sizes. The 6” one is plenty for most jobs it’s easy to carry and fits the width of common wood pieces. No need for 12” unless you’re working with the big stuff.
This triangle-shaped tool helps you mark straight, square cuts on wood. Measure your cut length, line it up with the board’s edge, and the short side gives you a perfect crosscut.
It’s also great for marking angles like for a table saw bevel or miter saw cut and can even check angles that are already there.
Stick with a metal one. Plastic versions break easily and can warp, messing up your marks.
Speed Square: Combines square and protractor functions for quick layouts
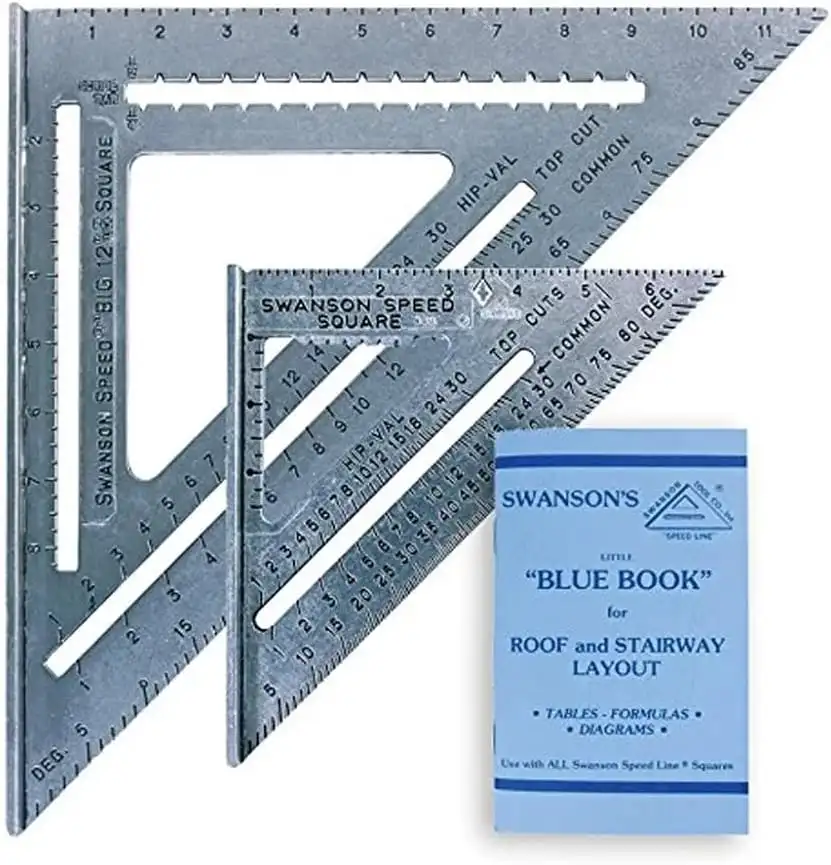
A speed square mixes a square and protractor into one fast tool. It marks straight edges or angles quickly, making layouts a breeze for any project.
Caliper: Measures small distances with precision.
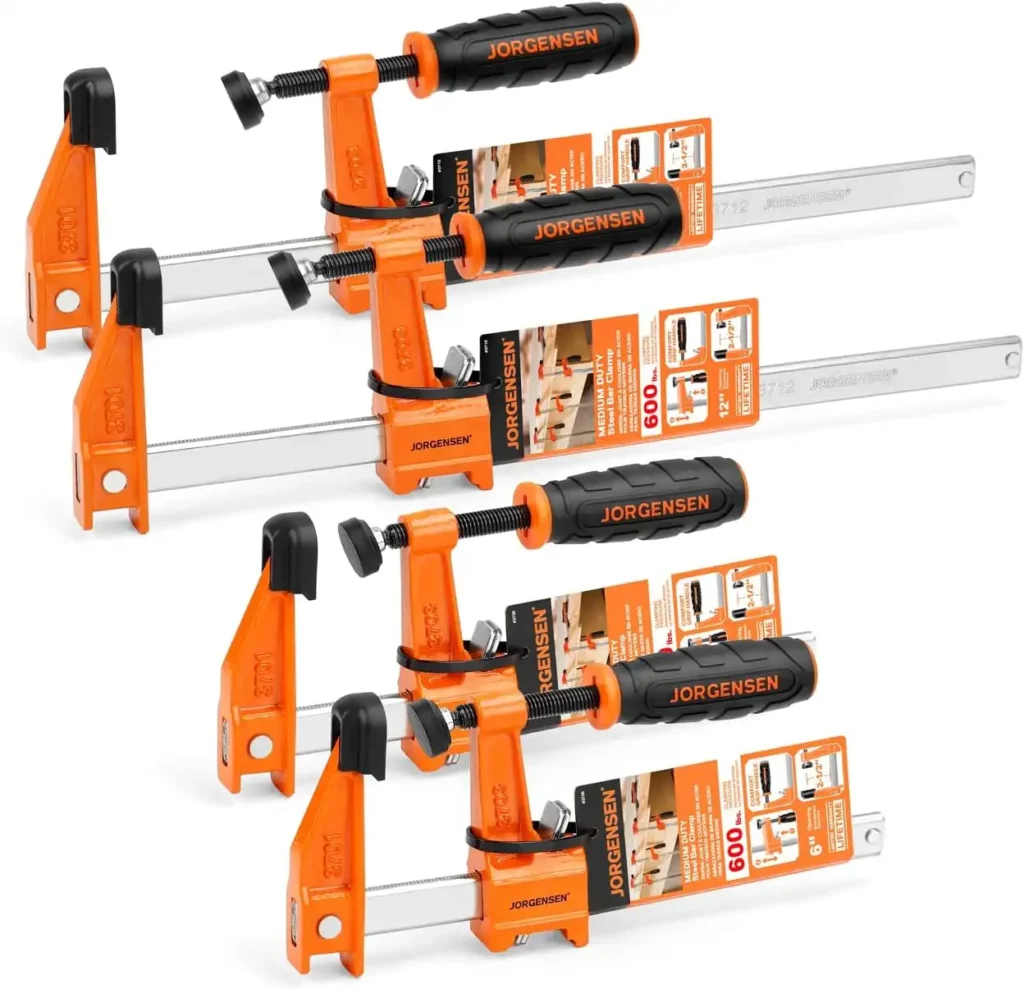
A caliper is a handy tool for getting exact measurements in woodworking projects. Digital ones show clear numbers no guessing if you’re off. Metal calipers beat plastic ones for durability, even if plastic costs less.
Calipers have a double “F” shape. The big “F” measures the outside of stuff, like a board’s width. The little “f” checks inside spaces, like holes or slots. Loosen the screw, slide the lower jaw to fit, then tighten it to hold your spot.
Use the inside part for measuring hole sizes or dado widths. Plus, there’s a depth gauge at the end rest it on a hole’s edge, turn the thumbscrew until the probe hits the bottom, and read the depth. Want to measure something sticking up from a flat surface?
Press the caliper’s end against the surface, slide the close jaw to the top, and the gap from jaw to end is your thickness.
Calipers can measure super tiny like 1/1000th of an inch but wood shifts with humidity and heat, so don’t sweat crazy precision. Leave some wiggle room for it to stay solid.
Compass: Draws perfect circles and arcs
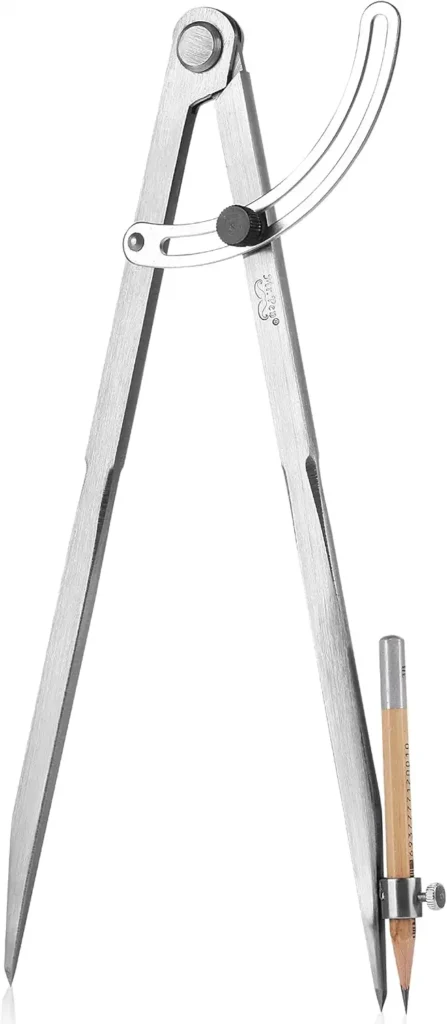
A compass sketches perfect circles and arcs on wood. It’s a quick way to draw smooth curves or round shapes for your next cut.
Scribe/Dividers: Marks lines and transfers measurements
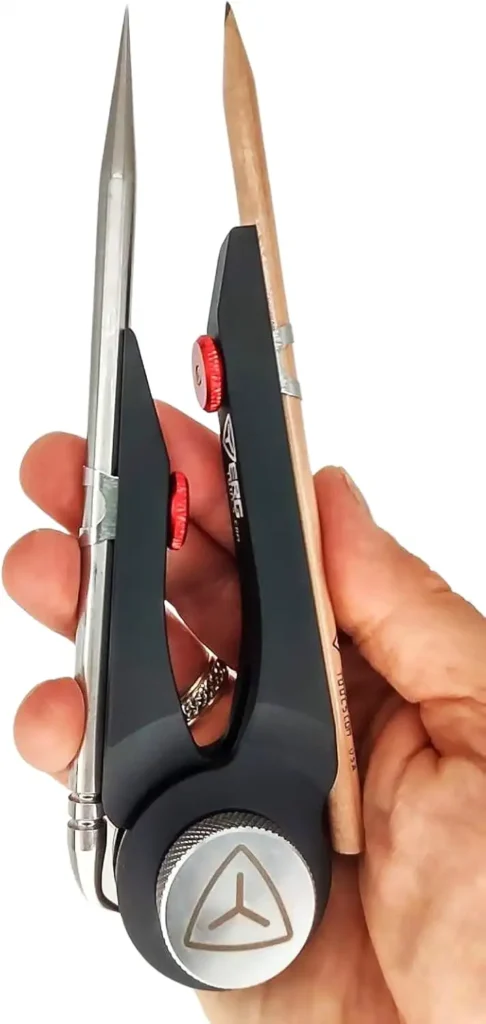
A scribe or divider marks lines and copies measurements. It scratches exact spots or gaps, helping you keep everything lined up right.
Chalk Line with Blue Chalk: Creates straight lines over long distances
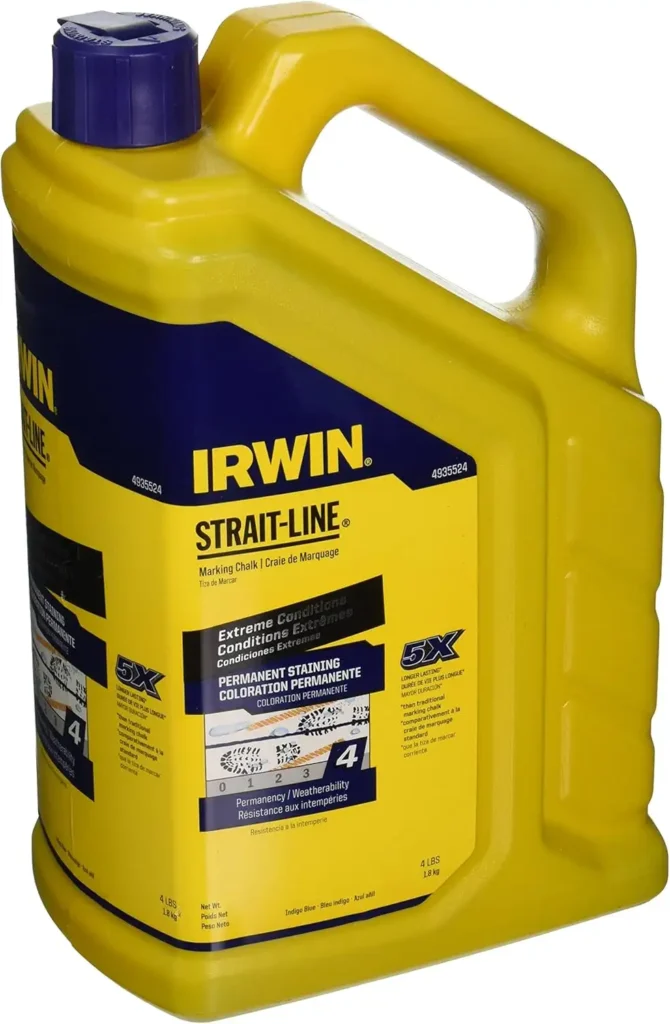
A chalk line with blue chalk snaps straight lines across long stretches. Just pull it tight, pop it, and you’ve got a clear guide over big wood pieces.
3. Cutting Tools
The Utility Knife: Ideal for trimming and scoring wood or other materials.
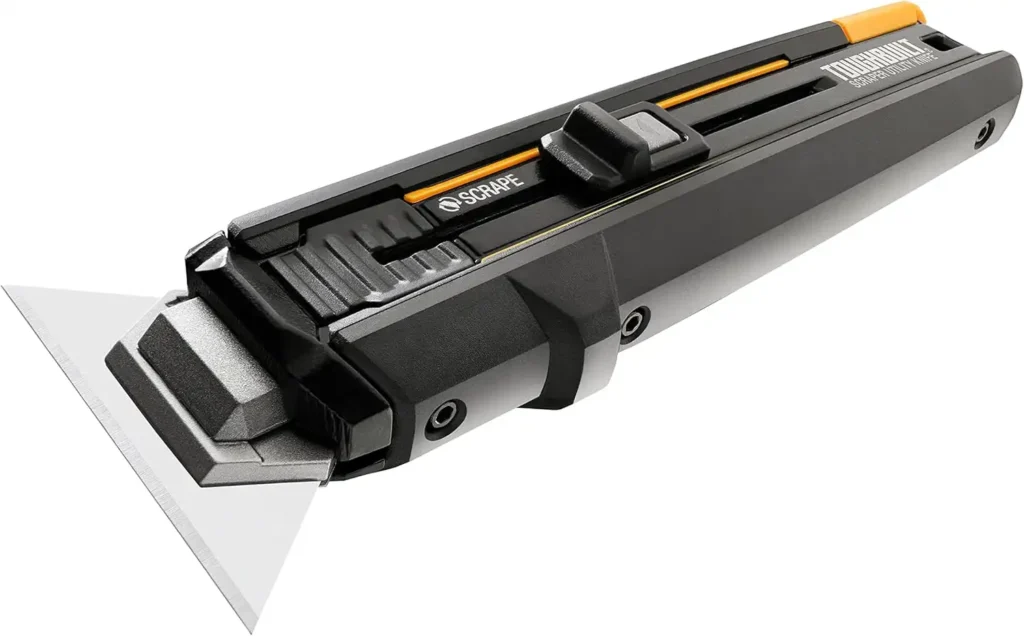
A utility knife is a must-have for any beginner woodworker or carpenter. The best kind has disposable blades you can swap out and a grip that hides the blade when you’re done super safe!
You’ll use it to clean up joints, mark lines on wood, or tackle little tasks around your project. It’s a handy helper for all sorts of jobs.
The Hand Saw: A traditional hand tool for cutting wood by hand

A hand saw is an old-school tool that cuts wood by hand. It’s straightforward and lets you work the blade yourself, feeling every slice as you go.
Pull Saw: Offers finer, more controlled cuts, popular in woodworking
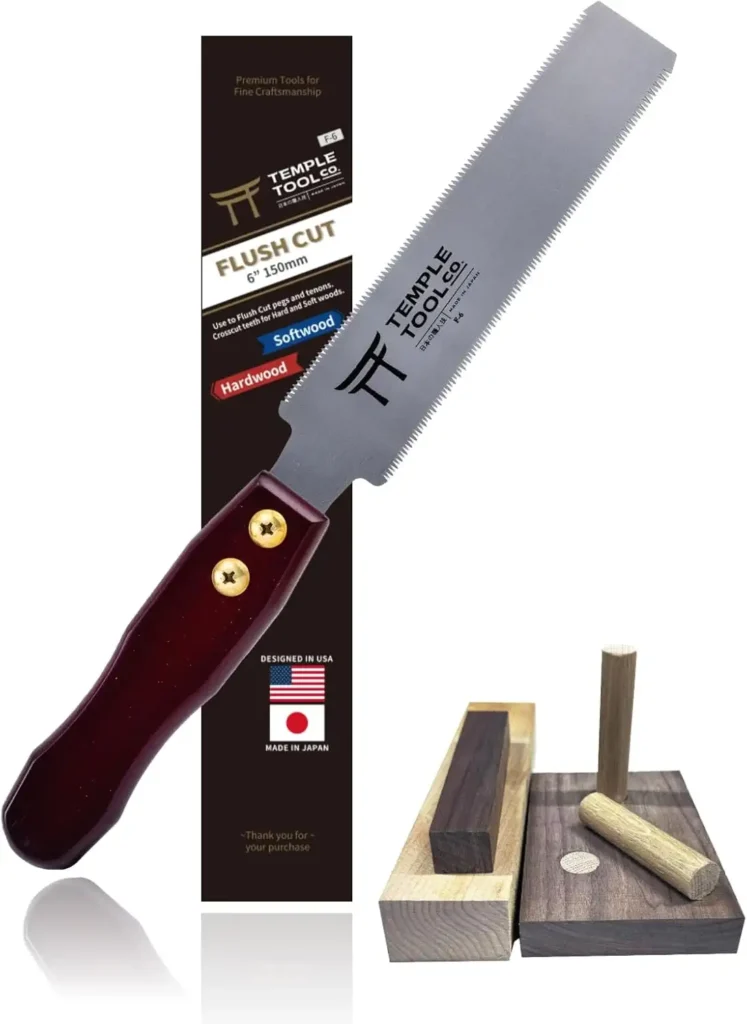
A pull saw gives you tight, careful cuts that woodworkers love. It slices on the pull, not the push, keeping your lines fine and steady.
4. Shaping Tools
The Chisel: Shapes and carves wood with precision.
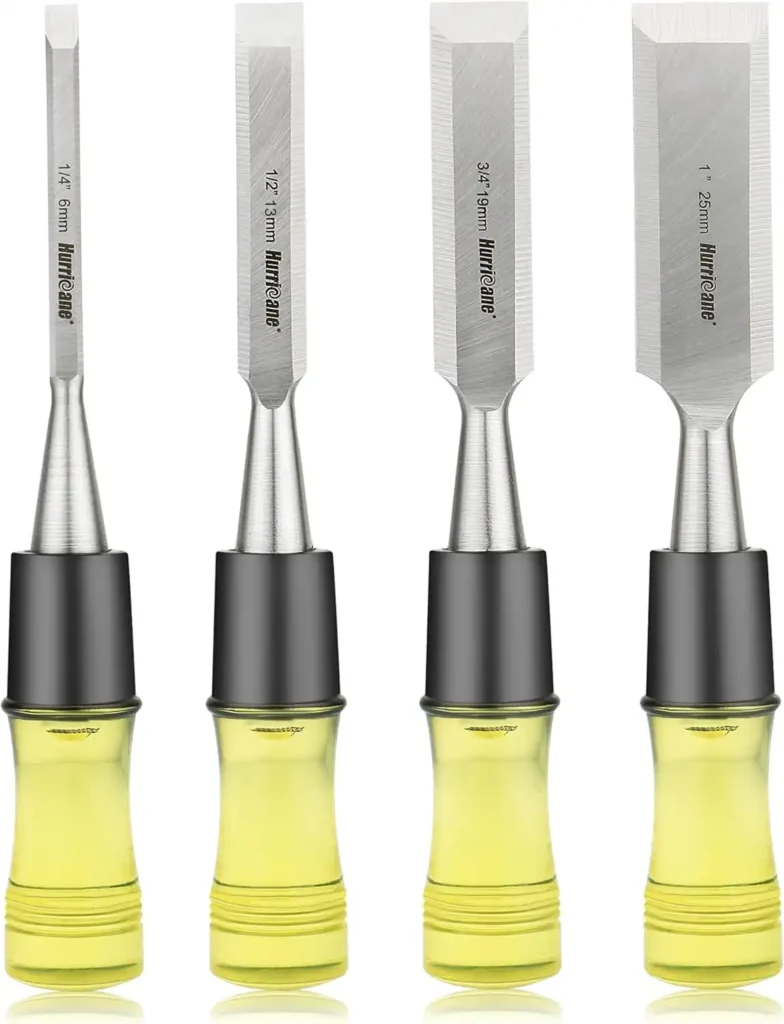
Every beginner woodworker or carpenter needs a few chisels on their workbench. They’re not just for carving chisels help clean up joints and saw cuts, making your work neater. Look for strong ones made of high-alloy carbon steel or chromium-vanadium steel.
Get chisels with hardwood handles that have metal caps on top. These won’t get smashed up when you hit them with a hammer. You’ll want different sizes starting at ¼” and going up by ¼” steps to at least 1½”.
Small ones (like ¼”) are great for tiny joint work, ¾” and 1” are perfect for door hinges, and 1½” is good for bigger cuts. There’s even a corner chisel that notches wood with one hammer tap, like a punch.
Most chisels have slanted edges (20-25 degrees) on one side and a flat back, with blades 4” to 7” long. They’re simple tools that make your projects better!
The Hand Plane: Smooths and flattens wood surfaces.
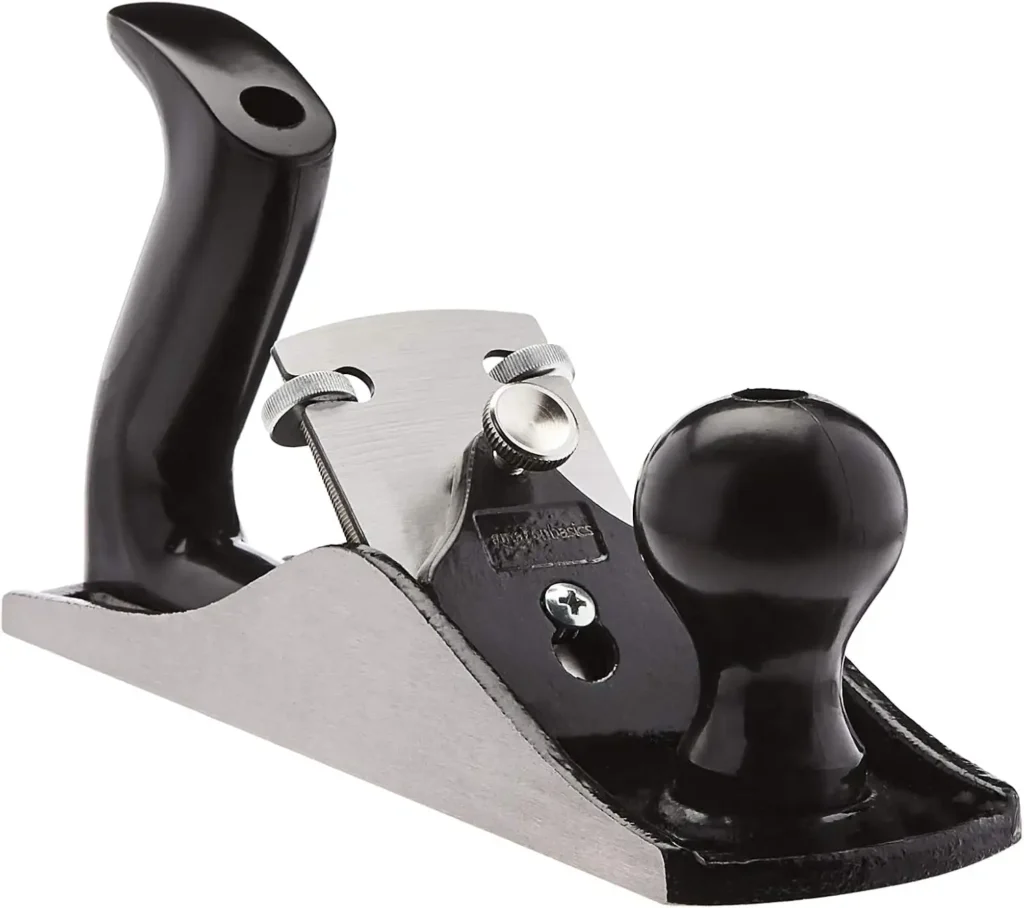
A hand plane opens up tons of possibilities in your woodworking. It can flatten wood, round edges, or straighten pieces. Use it to shape stock or smooth out a dovetail joint instead of sanding forever. It’s also perfect for softening the sharp corners of your work.
The trick is keeping the blade sharp. Rub some oil on a sharpening stone, press the slanted edge flat, then lift the back a bit and slide it. You’ll feel a rough edge that’s normal.
Flip the blade and rub the flat side on the stone to smooth it out. A screw adjusts how deep it cuts set it to 1/64” for delicate stuff or 1/16” for bigger jobs.
When you plane, shift your push from back to front for a smooth finish without curves. For the end grain, work from both ends toward the middle to avoid roughing up the edges.
5. Fastening Tools
The Screwdriver: Drives screws; includes variations like the 5-in-one Screwdriver for versatility.
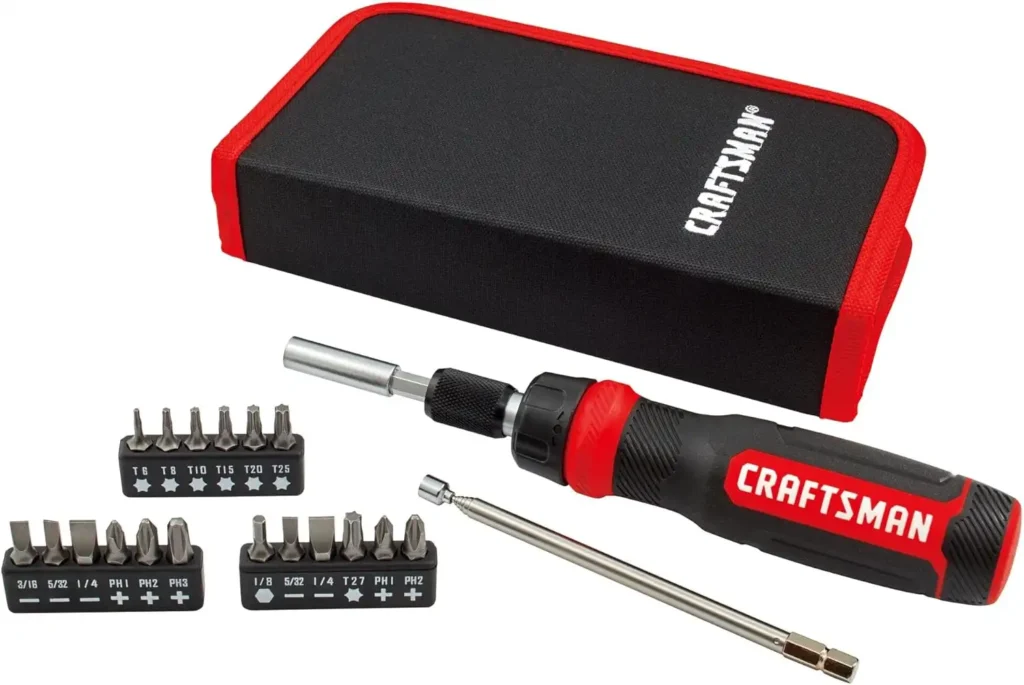
Screwdrivers are key hand tools for woodworkers and carpenters. You need strong ones cheap, soft-metal versions bend or break when you push hard, making them useless.
Start with a long, heavy-duty square-blade screwdriver for extra twisting power. Add a small and medium flathead for basic jobs. For cabinets or tricky spots, grab a cabinet screwdriver with a thin handle to reach deep screws.
Also, get a couple of medium Phillips-head screwdrivers and a short, stubby one for tight spaces. A ratcheting screwdriver can save time, too. These will help you tackle any project!
The Nail Set: Sets nail heads below the surface for a clean finish
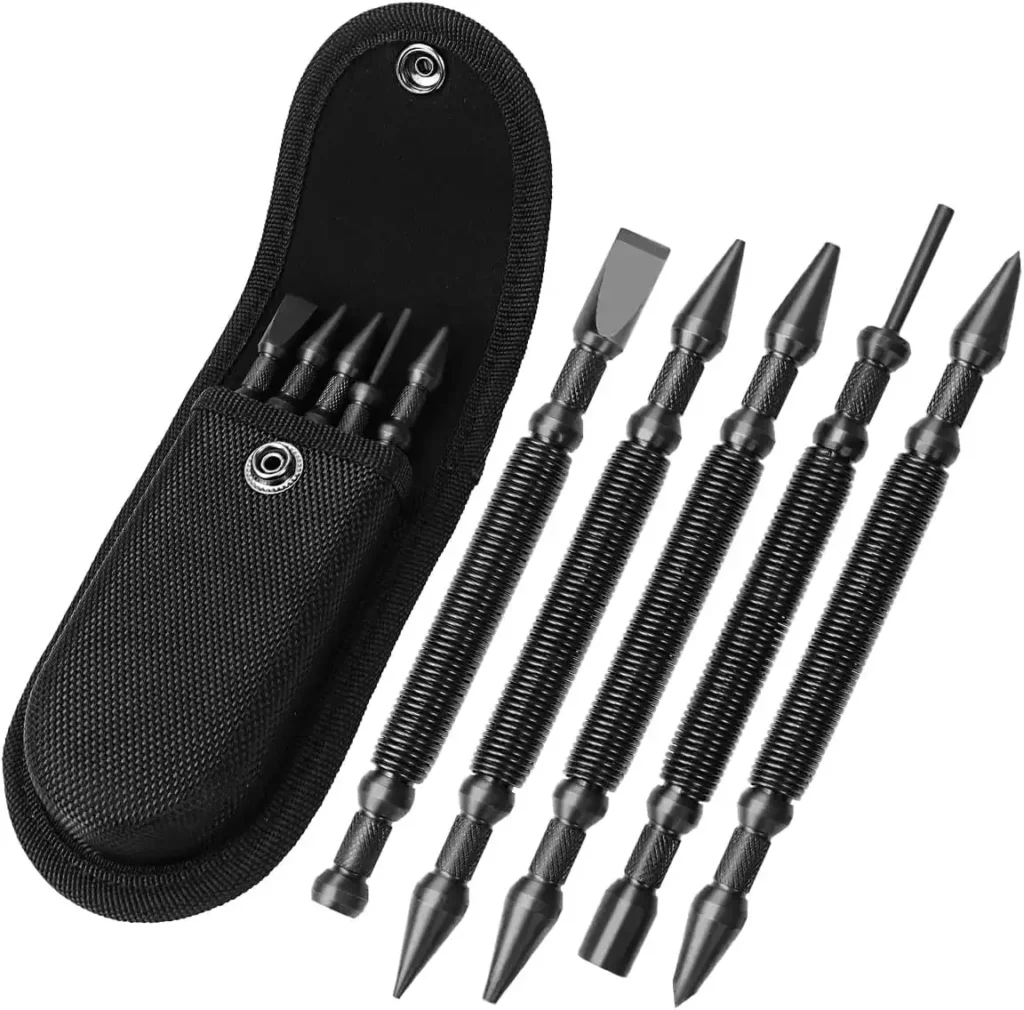
Every woodworker needs a nail set in their toolbox better yet, grab a few different sizes. These handy tools, shaped like awls, push nail heads into the wood so they sit flush or just below the surface. That way, you can fill the holes and get ready to paint or stain.
A good nail set has a curved tip either cupped in or out to hold the nail steady and avoid scratching your project. It’s an easy trick for a pro finish!
Twist Drill Set: Hand-twist drills for small, precise holes (assumed hand-operated from context)
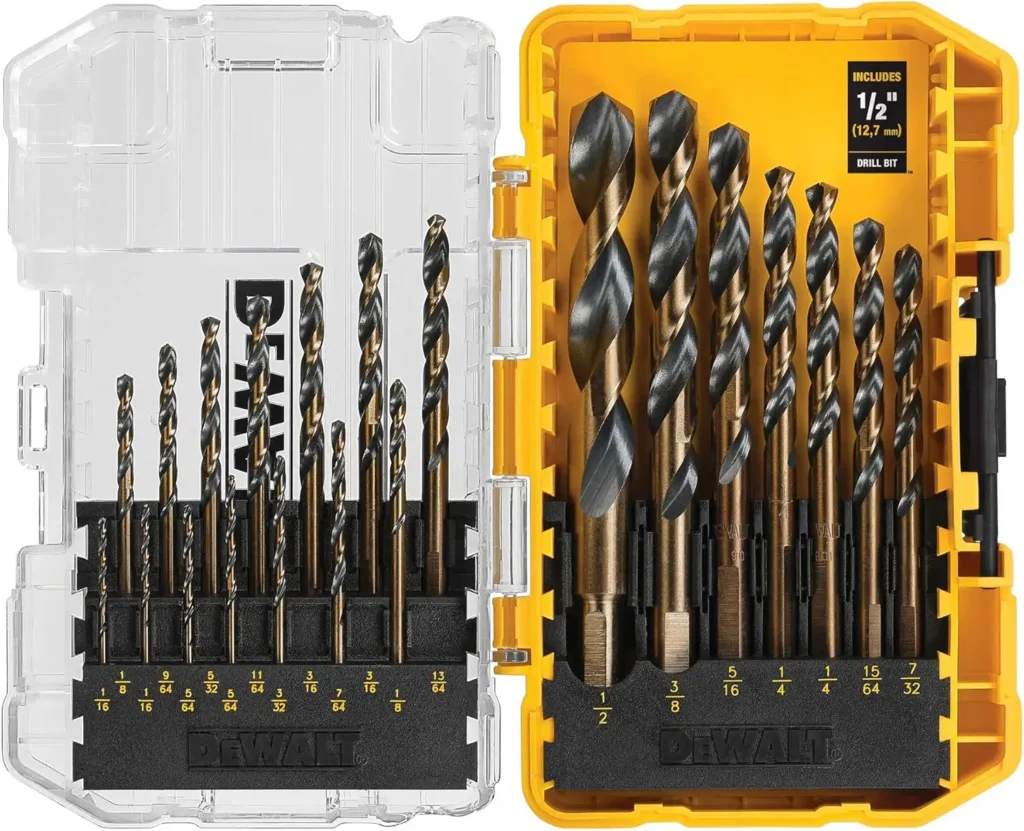
A twist drill set makes small, exact holes by hand. You twist these little drills yourself, perfect for tiny spots where power tools won’t fit.
Drill Driver Set: Manual drivers for screws (assumed hand tools unless specified as power)
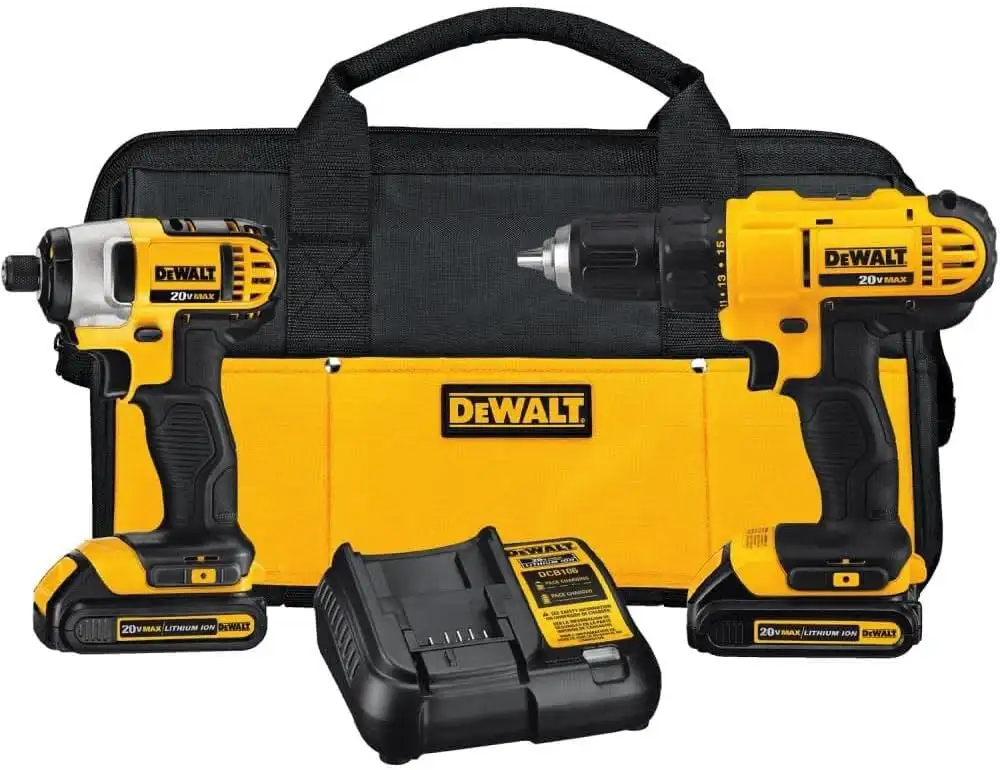
A drill driver set turns screws by hand. These manual tools grip and drive fasteners tight, handy when you’re working without a power drill.
6. Clamping and Holding Tools
The Clamp: Secures workpieces during cutting or gluing
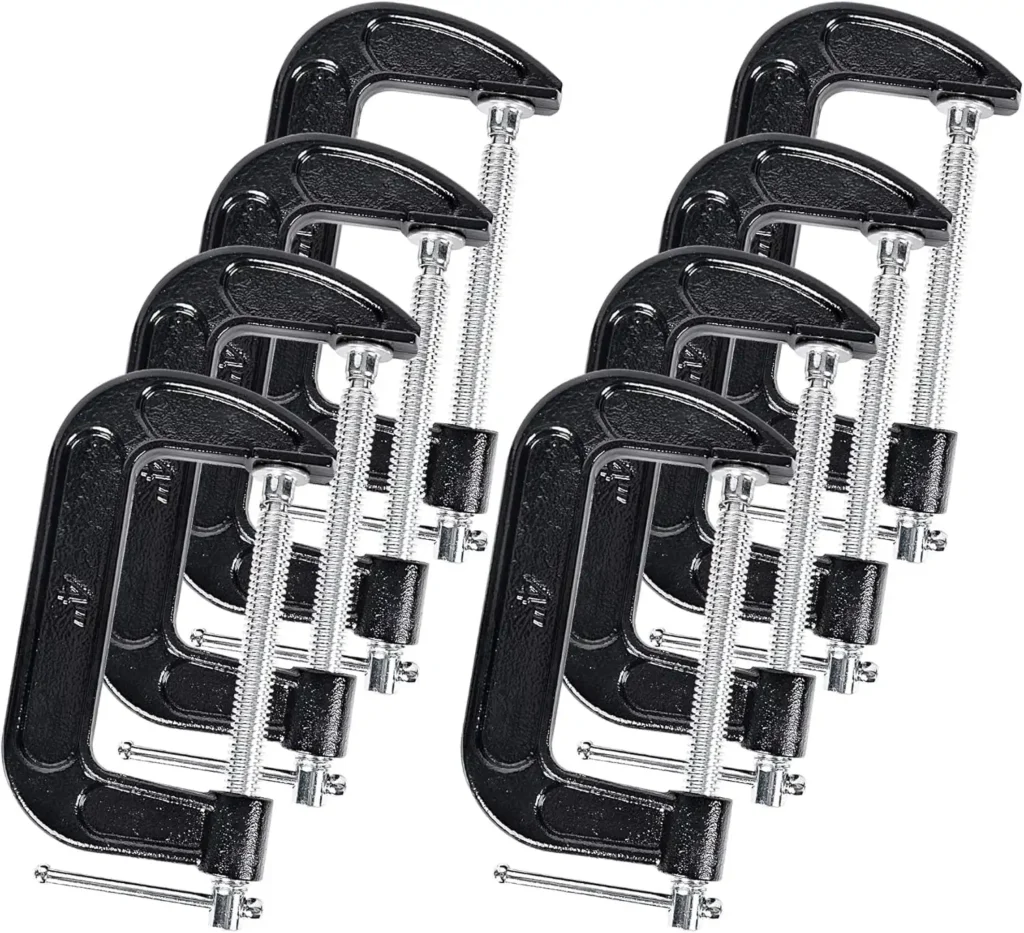
Clamps are a big deal in woodworking they hold your pieces tight so everything stays in place. You can never have too many, and while they cost a bit, they’re worth it.
You’ll want some for 45 and 90-degree corners, plus pipe clamps for longboards. With pipe clamps, you buy the fittings and add your pipe to make them as big as you need.
C-clamps and F-clamps are common, but K-clamps stretch far into your work to grab stuff in the center. Deep bar clamps help with that too. Quick-grip clamps are a must in different sizes big ones spread 12” or more, and tiny ones work for small builds like toys.
An edge clamp sticks trim to a table edge, while a strap clamp wraps around odd shapes to pull joints closed. Spring clamps act like giant clothespins to steady things fast. Quick-grips slide on with one hand and lock when you let go easier than springs.
Hand screw clamps look old-school with wooden jaws and double screws you twist for even pressure, perfect for slanted pieces. Assembly square clamps keep corners square, and bench clamps or “dogs” hook to your workbench for extra grip.
The Jig: Guides tools or holds pieces in place for consistent results
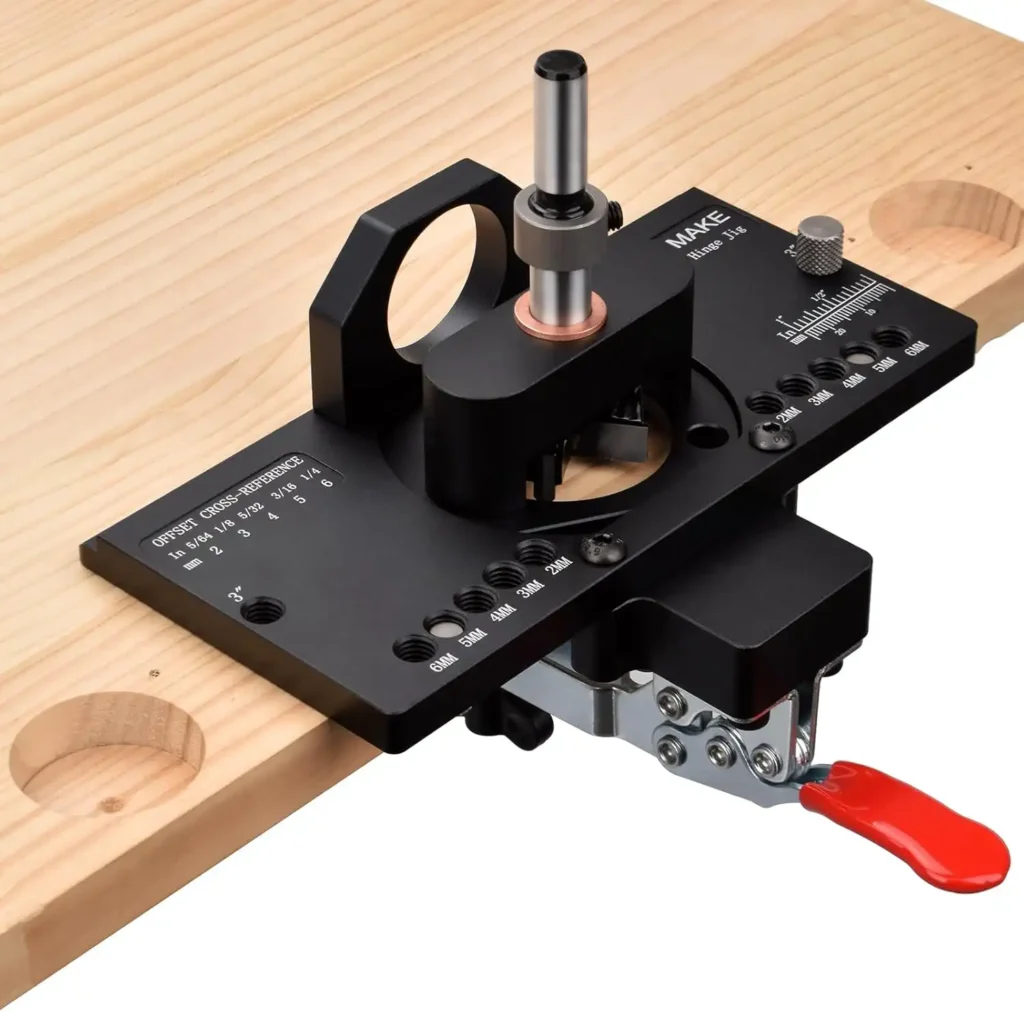
Why measure every cut by hand? A jig makes it way easier. Lots of woodworkers build their jigs to steer wood through a power tool, like a saw. Want a perfect circle? A jig can do that.
Need furniture legs with a slant? A jig cuts them all the same without marking each one again. A dovetail jig helps you shape those fancy joints fast and clean.
Feather Board: Keeps wood against a fence or table during cutting
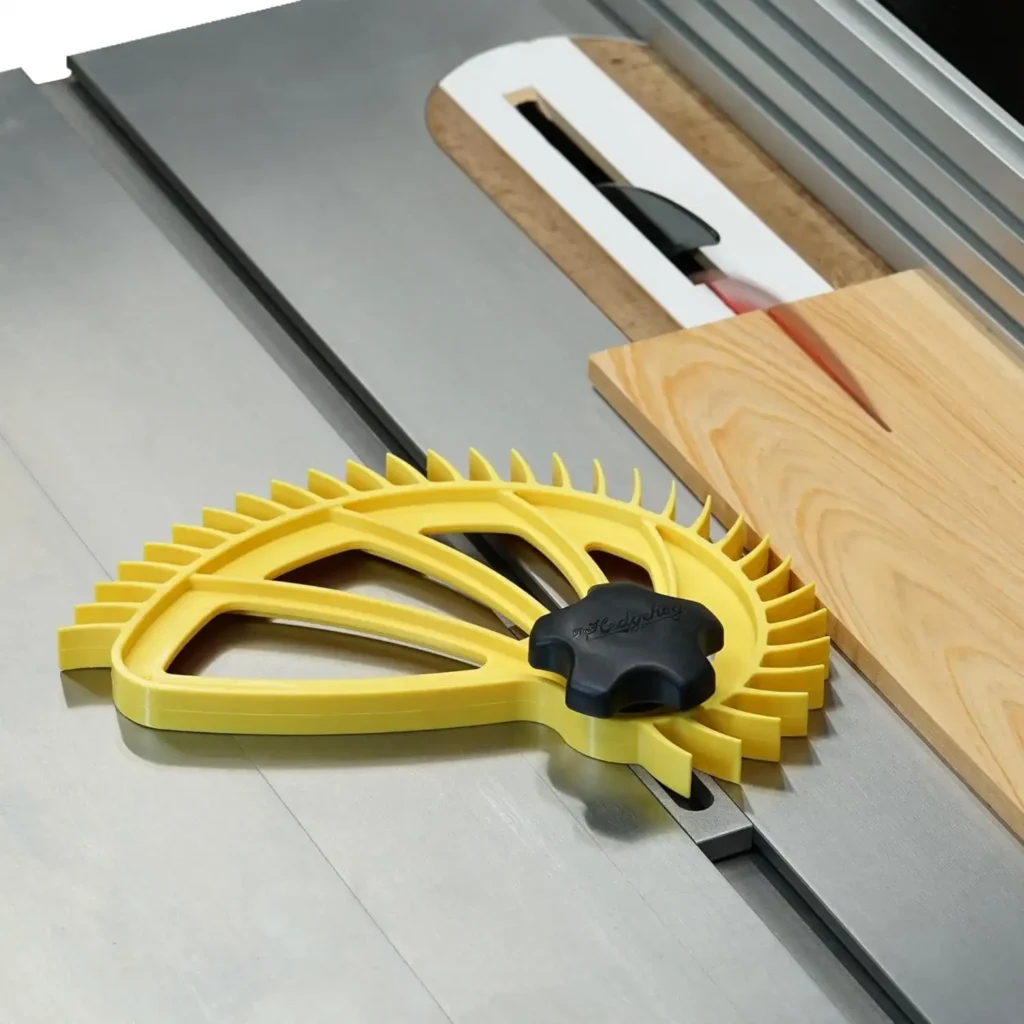
A feather board makes your cuts smoother and cleaner. It works with saws and cutting tools by pressing the wood against the blade as you push it through. You can buy one or make your making it lets you fit it into your setup. Either way, it’s a small tool that boosts your results big time.
7. Specialty Tools
The Moisture Meter: Checks wood moisture levels to prevent warping
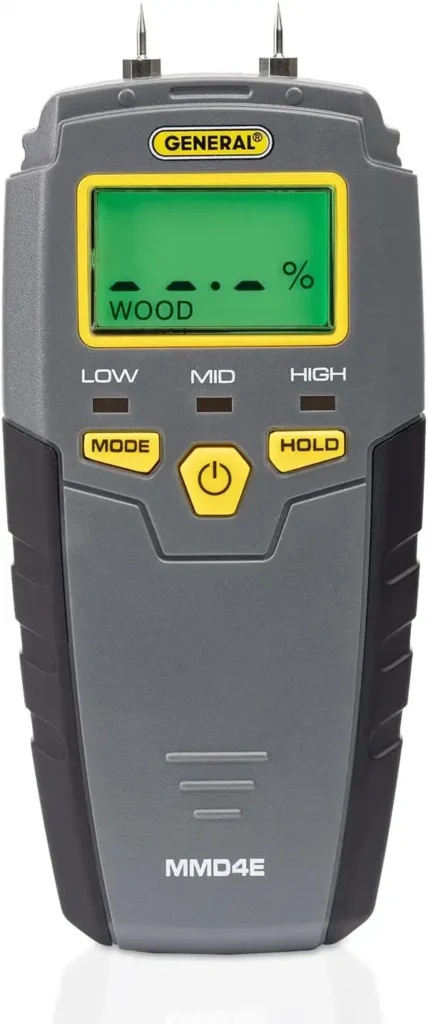
A moisture meter might sound fancy, but it’s a key tool for beginner woodworkers and carpenters. It checks how wet or dry your wood is super important because wood changes depending on where it’s from or where you live. Too much moisture can ruin floors, cabinets, or furniture over time.
Some meters use pins that poke tiny holes in the wood, which you’d have to fix. Others are pin-less, with plates that scan the wood without marks.
For the best results, pick a pin-less one like the Wagner moisture meter with IntelliSense™ it ignores surface wetness and gives you accurate readings. It’s an easy way to make sure your projects last!
The Metal Detector: Locates hidden nails or screws in reclaimed wood
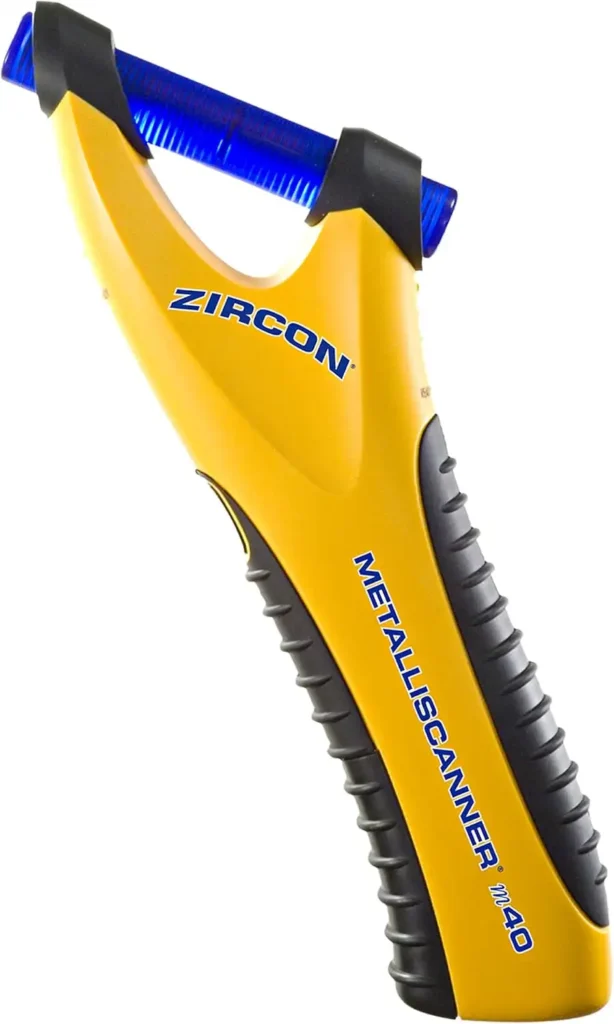
This isn’t for treasure hunting it’s for saving your woodworking tools. A metal detector spots hidden nails or screws in your wood before they wreck your blades or bits. Scan your stock to catch any metal. You’d find out the hard way otherwise, so this keeps your gear safe.
Scratch Awl: Marks wood with precision for drilling or cutting
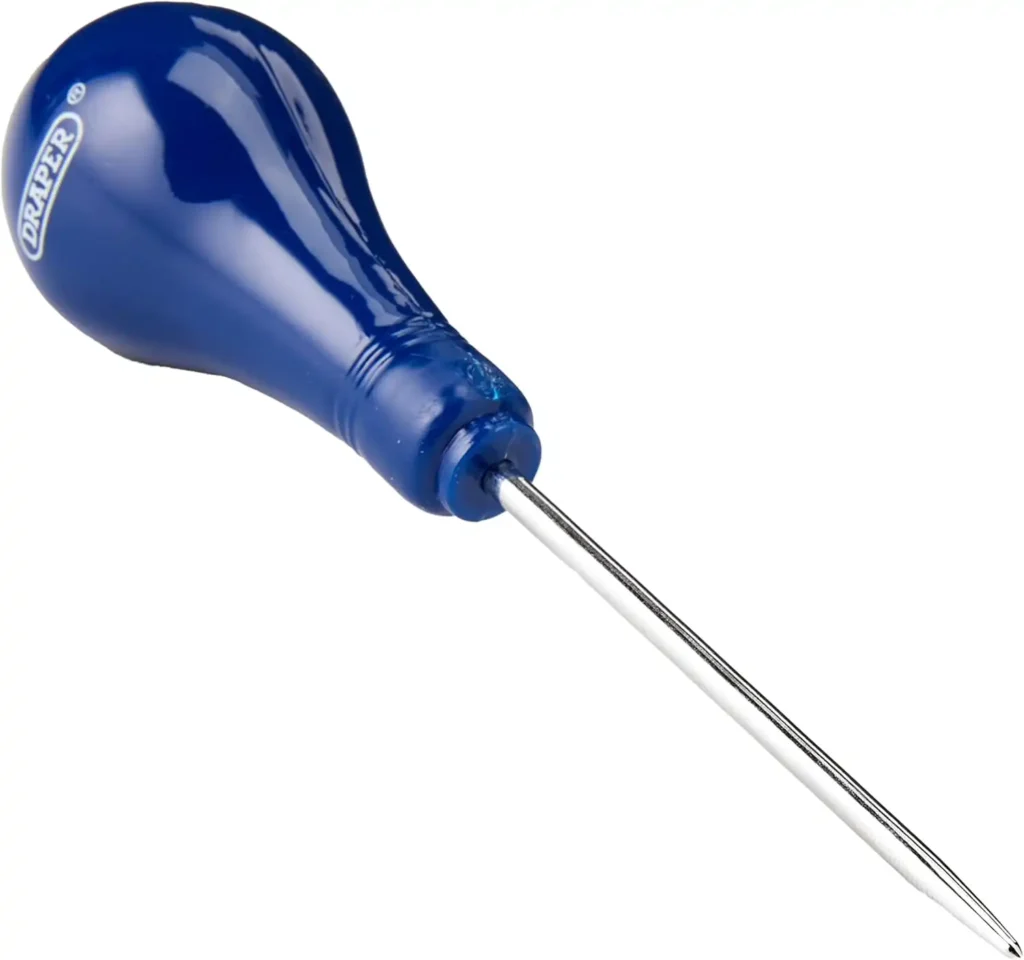
A scratch awl marks wood sharp and exact for drilling or cutting. It’s like a pencil but tougher perfect for lining up your next move without guesswork.
Cat’s Paw/Nail Puller: Removes nails efficiently.
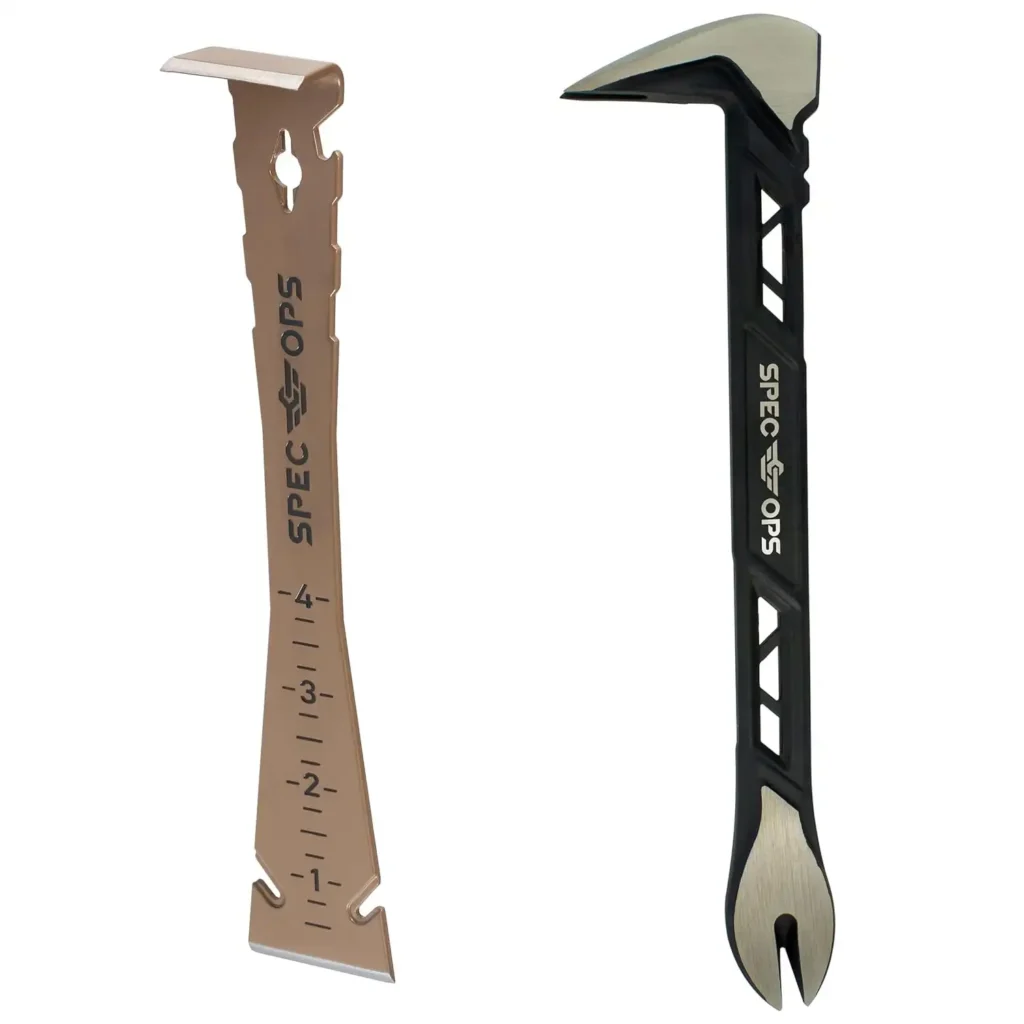
A cat’s paw or nail puller yanks nails out fast and clean. It digs in and pulls them free, saving your wood from extra hassle or mess.
Small “Wonder Bar”/Trim Bar: Pries trim and small pieces without damage
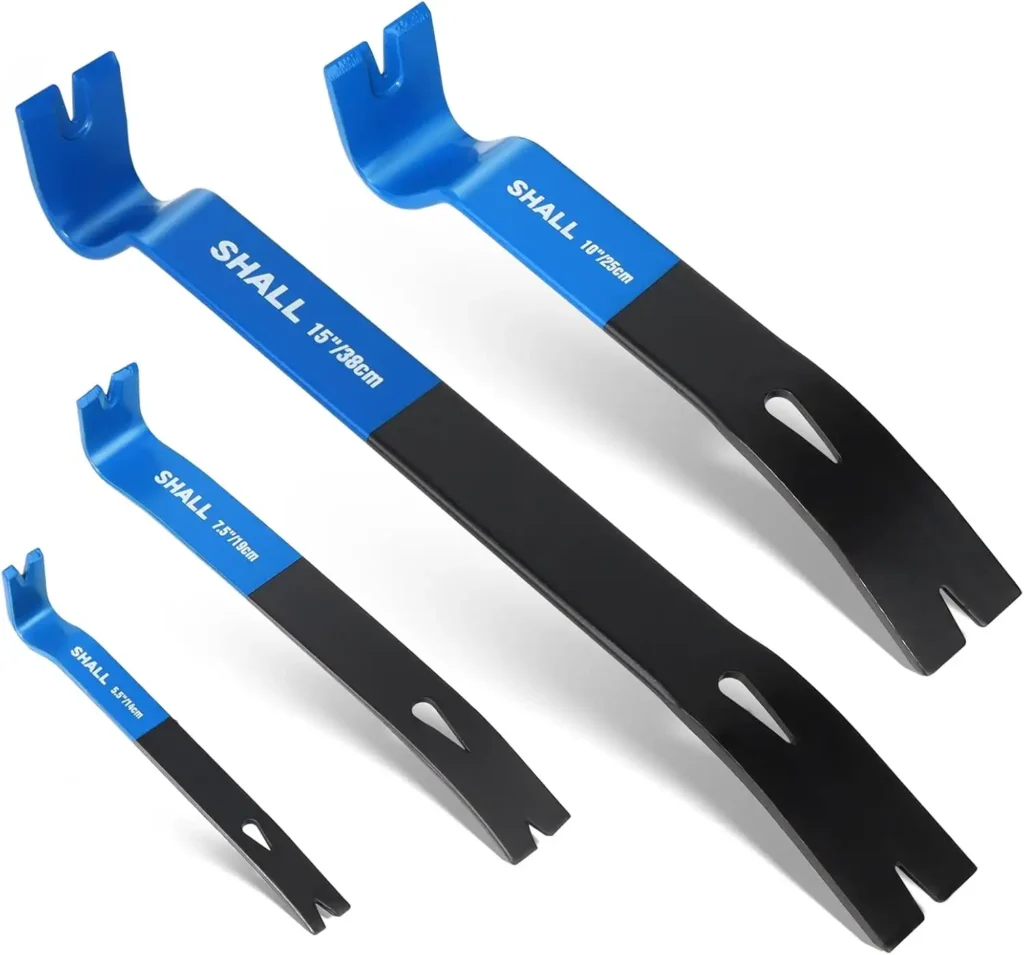
A small wonder bar or trim bar pries off trim or little pieces gentle-like. It gets under the edges without busting up your work, keeping things neat.
Flat Bar Pry Bar 12” to 16”: Heavier prying tasks in carpentry
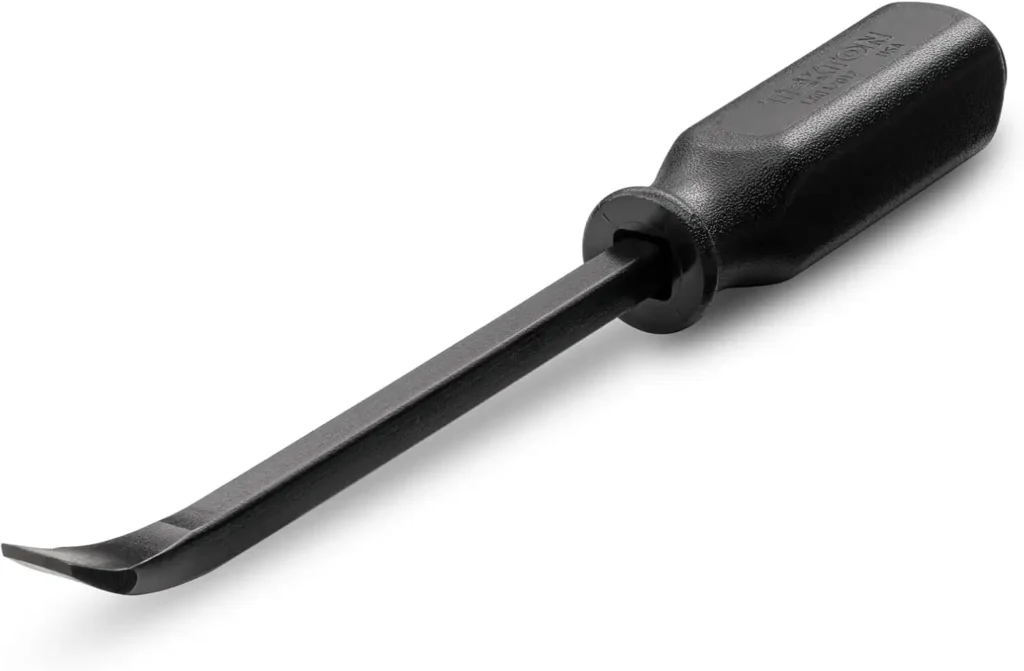
A flat bar pry bar, 12” to 16” long, tackles bigger prying jobs in carpentry. It’s strong for lifting or shifting stuff that won’t budge easily.
6” Slip-Joint Plier: Adjusts for gripping or bending small items

A 6” slip-joint plier adjusts to grab or bend small bits. It shifts size with a slide, making it handy for tweaking things in your shop.
Electrician’s Pliers 8”: Cuts and twists wire, useful in shop wiring tasks
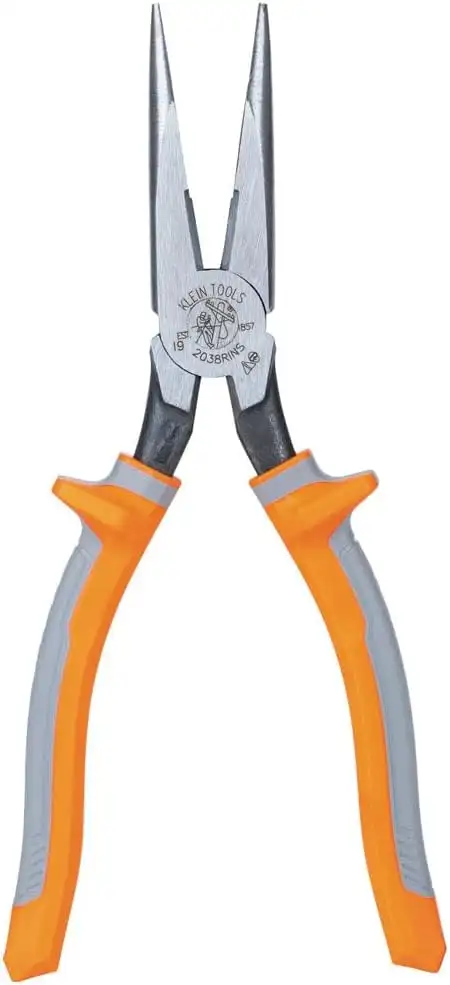
Electrician’s pliers, 8” long, cut and twist wire for shop wiring tasks. They’re a go-to for fixing cords or setting up power without fuss.
8. Furniture and Storage
Keeping your shop tidy matters when you’ve got all these cool tools piling up. Here’s where you can craft your setup to fit your space.
The Saw Horse: Supports wood during cutting or assembly
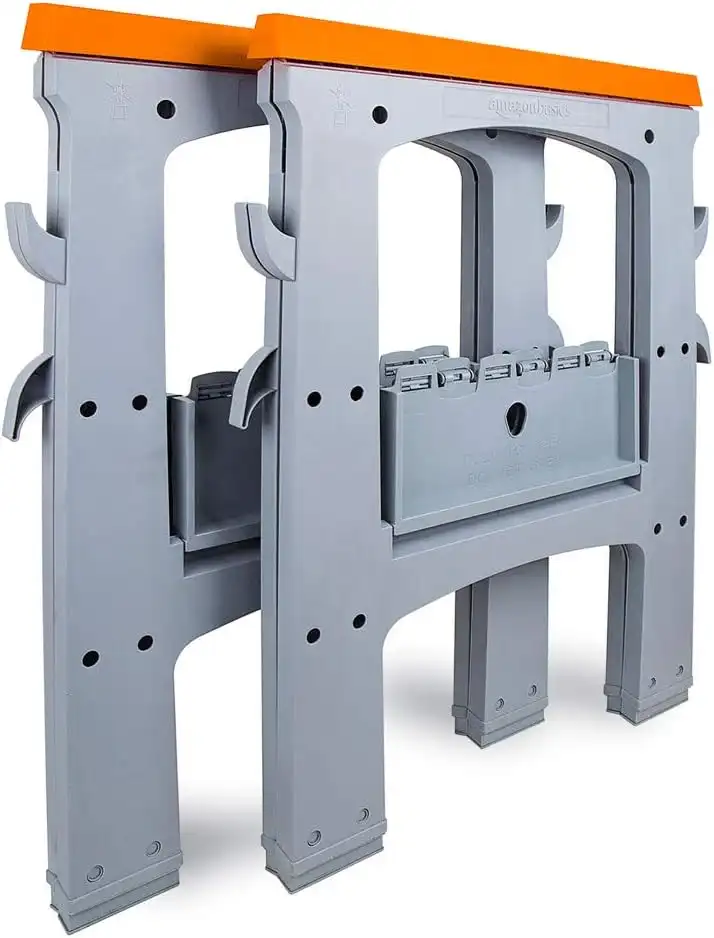
Saw horses are a no-brainer in any woodworking shop. You can find plans to build your stackable ones strong enough to hold 500 lbs. each and cheap to make. They’re super helpful, propping up wood while you saw or drill, or stretching out your workspace for bigger cuts.
The Workbench: Provides a stable work surface for all tasks
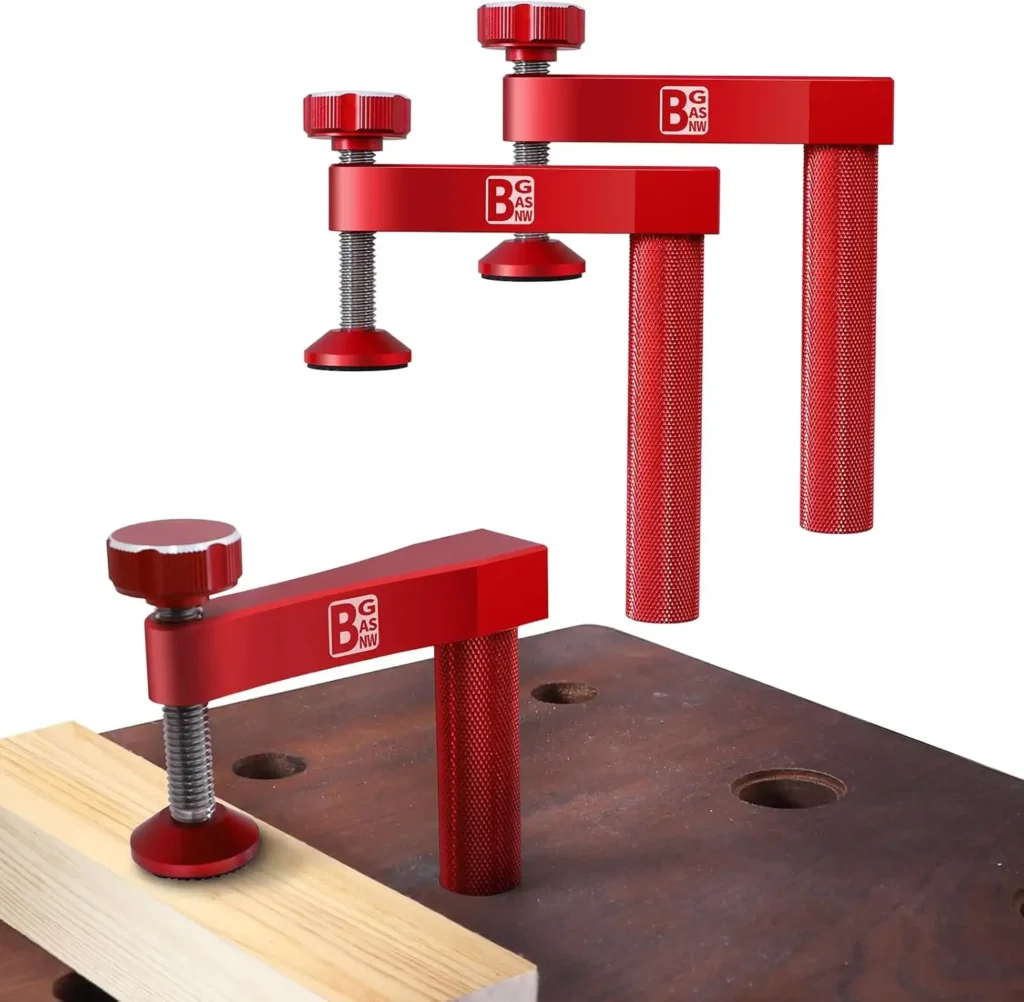
A workbench is a must-have for your shop. Don’t try using your table saw’s stand it’s too small, wobbly, and gets in the way. Plans are out there to build one, just like with saw horses.
Make it portable with wheels that lock, or keep it fixed your call. Size depends on your space. A double-sided one is great if you’ve got room, letting you work from both sides or with a buddy.
If it’s by a wall, keep it shallow so stuff doesn’t pile up out of reach. Add storage underneath if you want, but make sure you can grab everything.
Tool Storage System: Keeps tools organized and accessible
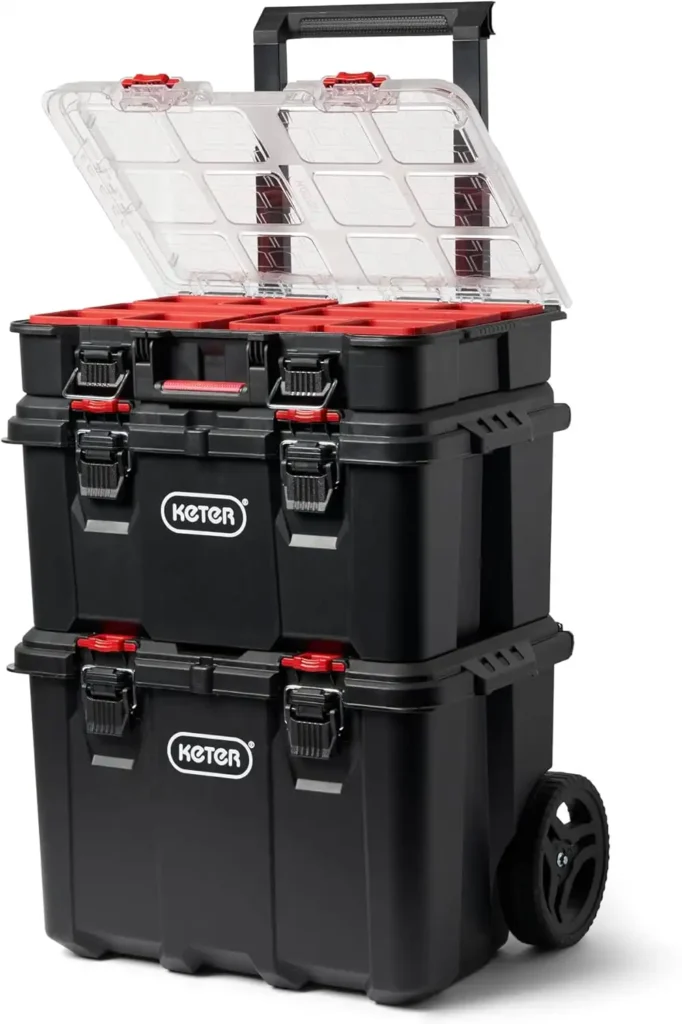
Tool storage is all about what works for you. Some folks leave stuff scattered and just know where it is like the moisture meter by the router. But a system saves time.
Build cabinets that lock, open shelves, or hang fasteners in jars screwed to a board overhead. (Watch out jars can break and spill.)
A pegboard above your workbench keeps hand tools close just keep the bench narrow enough to reach it. A rolling toolbox or tackle box works for tools and small bits.
Hardware bins are another option. Whatever you pick, finding your gear fast keeps you working and protects your stuff no extra trips to the store.
Tool Belt with Hammer Holder: Enhances mobility and efficiency on the job
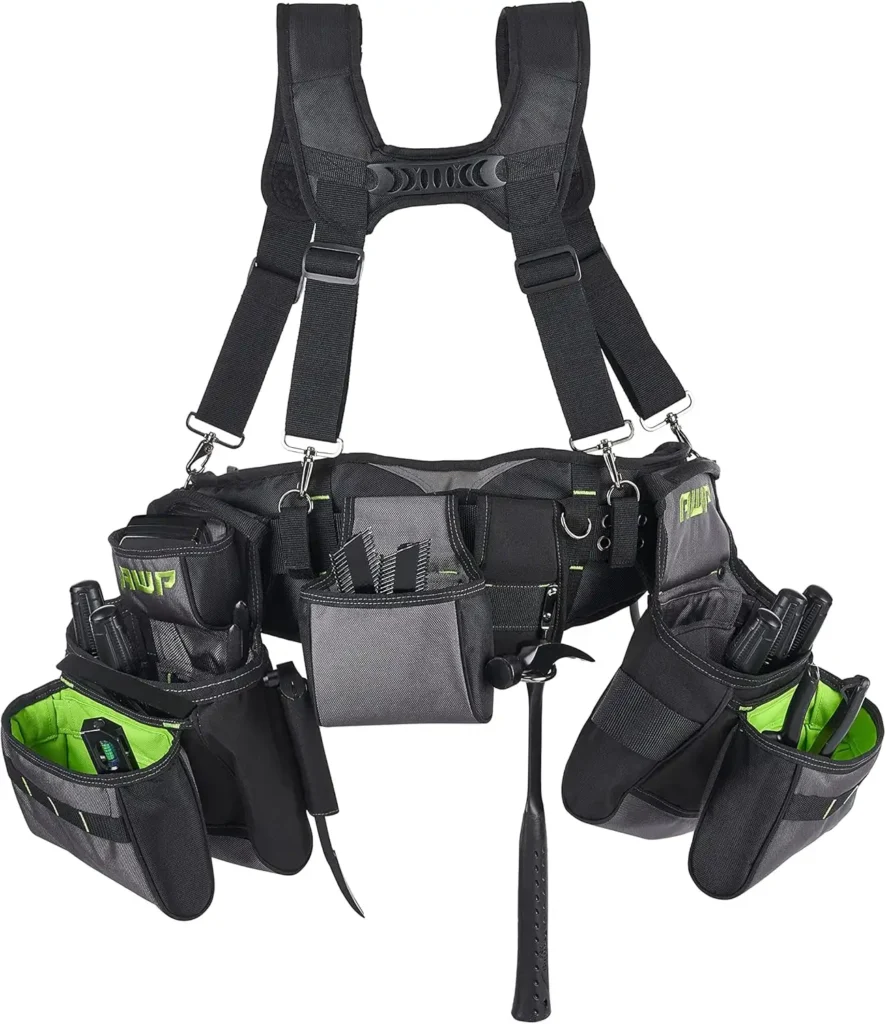
A tool belt with a hammer holder keeps you moving fast on the job. It holds your hammer and other tools right at your hip, so you’re not digging around. It’s all about working smoother and quicker wherever you’re at.
9. Finishing Tools
2 Paint Brushes: Applies finishes or paints for a polished look.
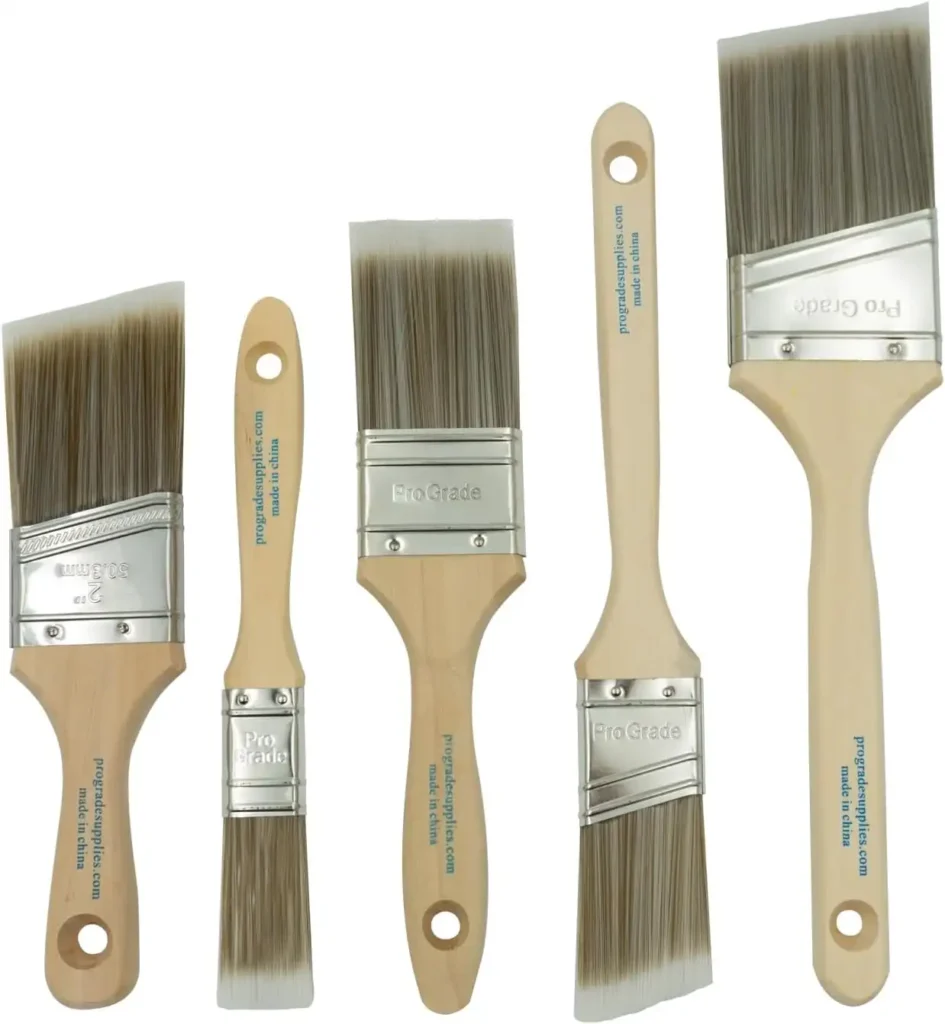
Paint brushes put the final touch on your woodworking. They spread paint or finish smooth and even, giving your project a clean, polished shine. Grab two sizes they’re an easy way to make your work stand out.
Essential Power Tools for Woodworking and Carpentry
1. Saws
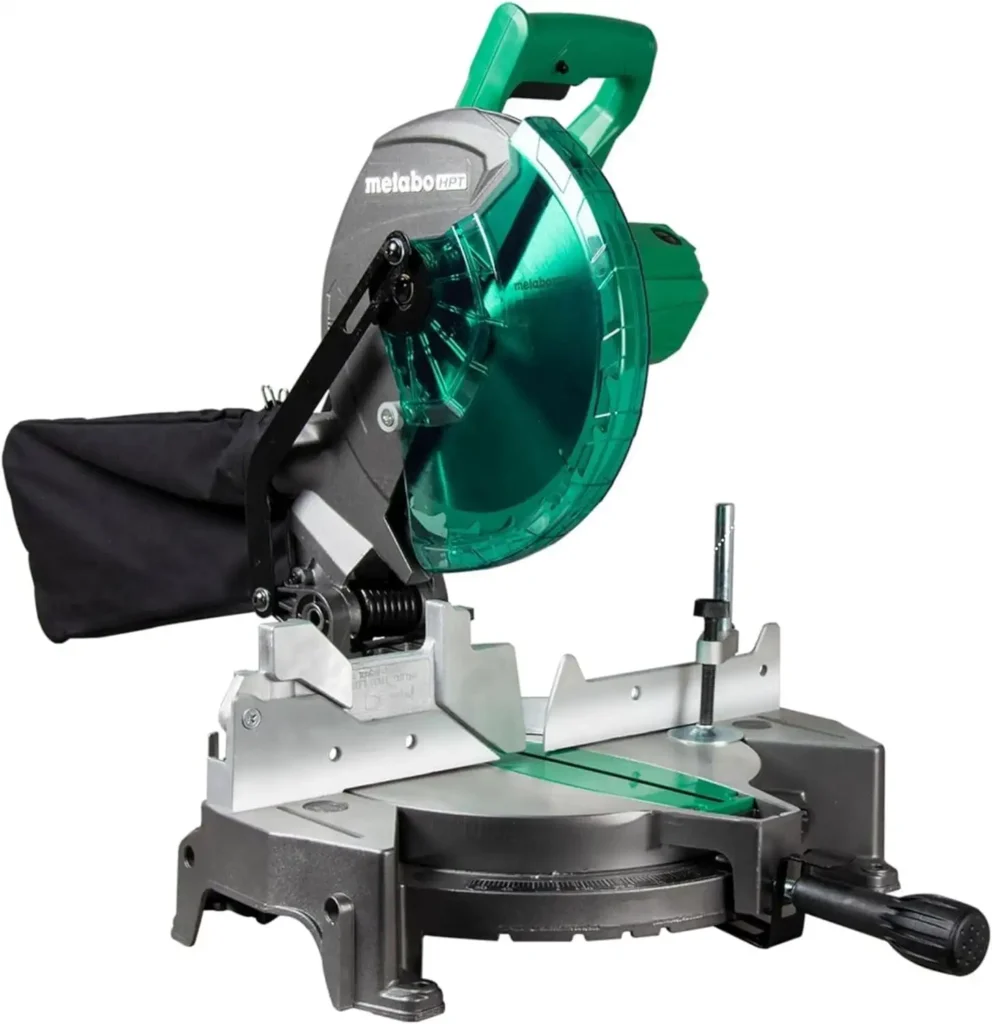
The Miter Saws: Cuts precise angles for trim and framing.
A T-groove miter gauge on your table saw slides in its slot for angle cuts. The built-in one might wiggle loose get one that glides smooth but snug.
The Circular Saw: Versatile for straight cuts in various materials
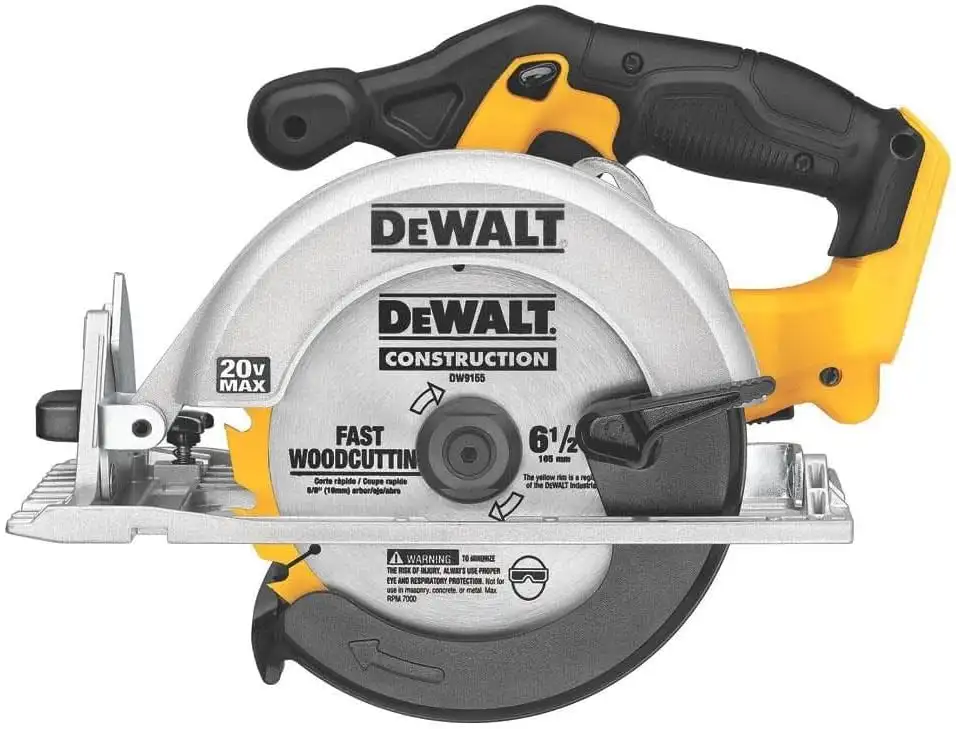
A circular saw is a do-it-all tool worth having. It’s not just for carpentry with clamps, it cuts as straight as a table saw and handles jobs a table saw can’t, like slicing plywood on saw horses. It’s the first power tool you should get.
Saw blades have teeth-per-inch (TPI). More teeth (like 80) cut smooth but slow and might burn wood if dust clogs the gaps called gullets. Fewer teeth (like 40) zip through fast with less burn, but leave rough edges you can sand later.
Keep both types handy. If cuts still look bad, check your wood’s moisture with the meter too wet feathers, too dry splits.
The Sabre Saw: Handles curved or irregular cuts (jigsaw alternative)
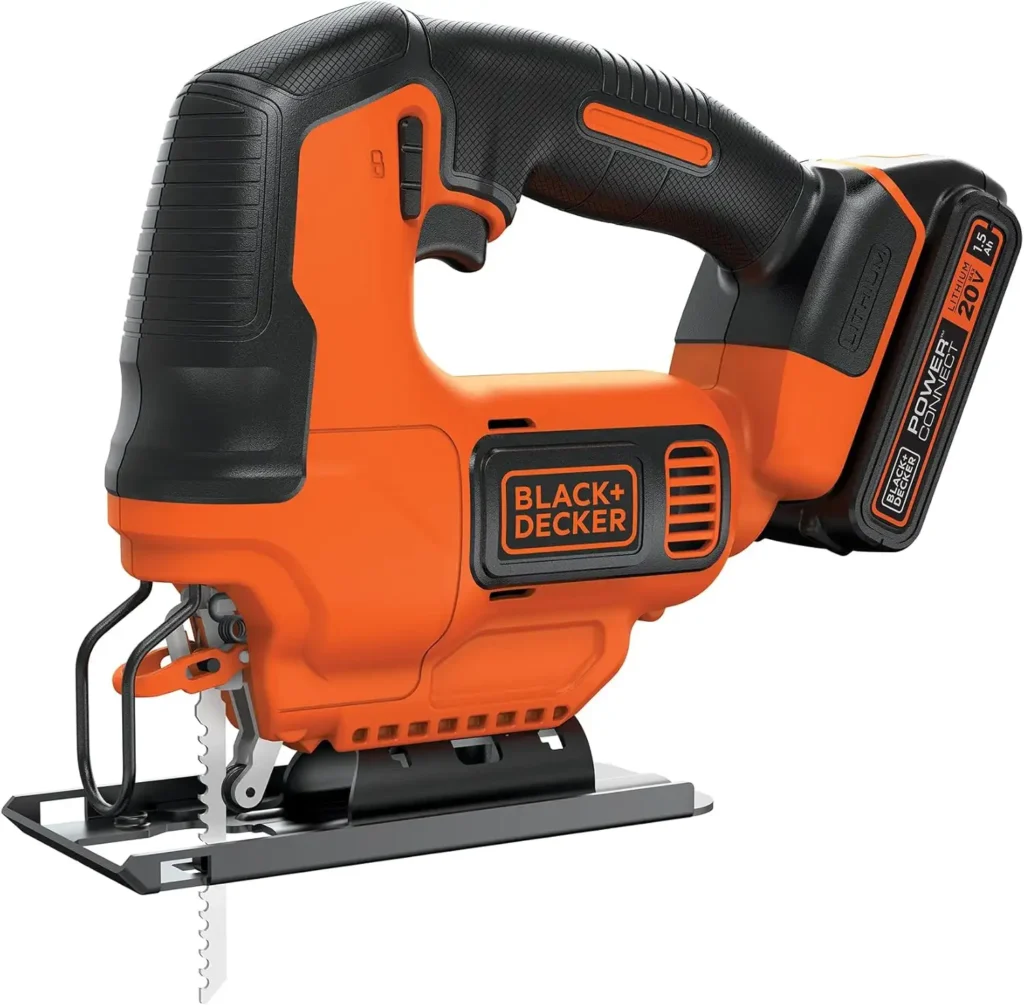
A saber saw often called a jigsaw cuts curves and shapes in wood. Go electric, not battery, for thicker stuff battery ones are fine for light jobs. Find one that fits your grip: too-small slips, too-big wobbles. For heavy cuts, you’ll need a band saw later.
The Table Saw: Provides stability for ripping large boards
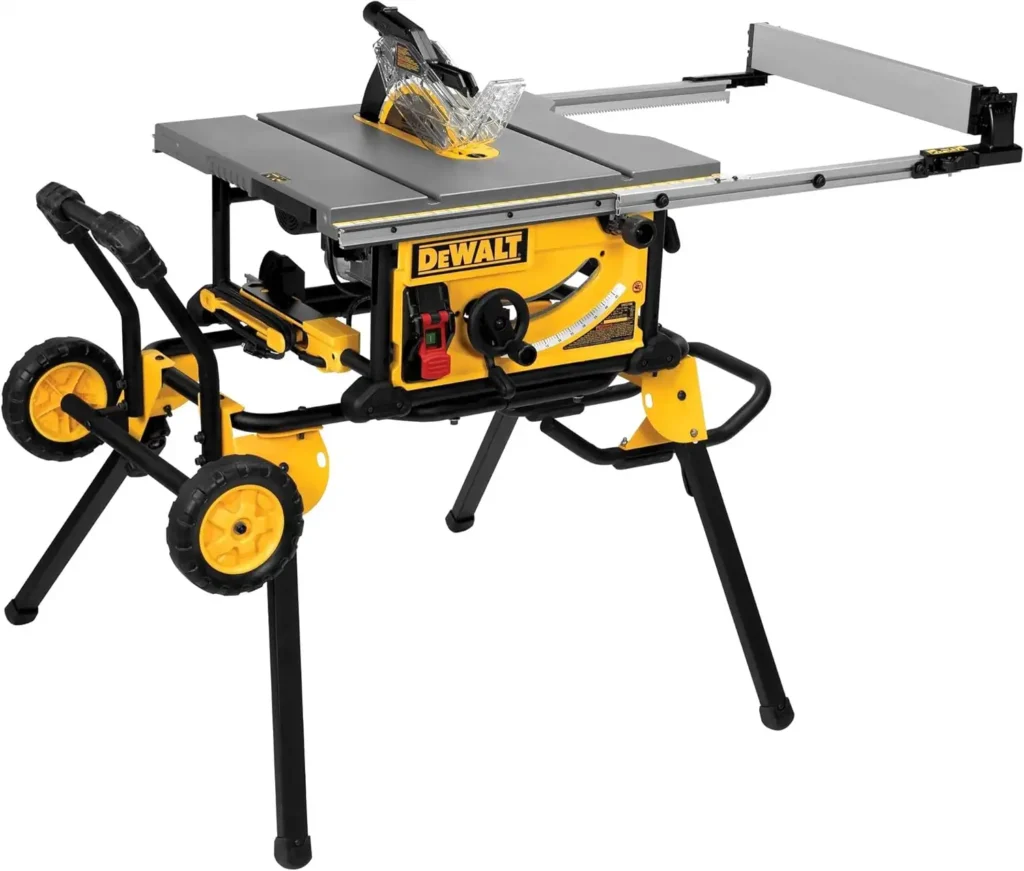
Here’s your shop’s big gun the table saw. It’s movable in a truck, but not light to carry. It rips, miters, and shapes wood, so pick a solid one.
Look for a tough top, easy blade height and angle controls, and a dust hookup. High amps and horsepower cut hardwood deep. The motor should hum smoothly, with a blade guard and a knee-paddle switch for quick stops.
Blades split into rip (deep gullets for along-grain cuts) and crosscut (extra teeth for smooth cross-grain cuts). Combo blades (24-80 TPI) do both. Clean pitch buildup with oven cleaner no scrubbing or it’ll heat and wreck the blade.
Carbide blades can be resharpened, stretching their life. Wax the cast-iron table with car wax (not silicone) to stop rust without messing up wood finishes.
The Compound Miter Saw: Advanced miter cuts with bevel options.
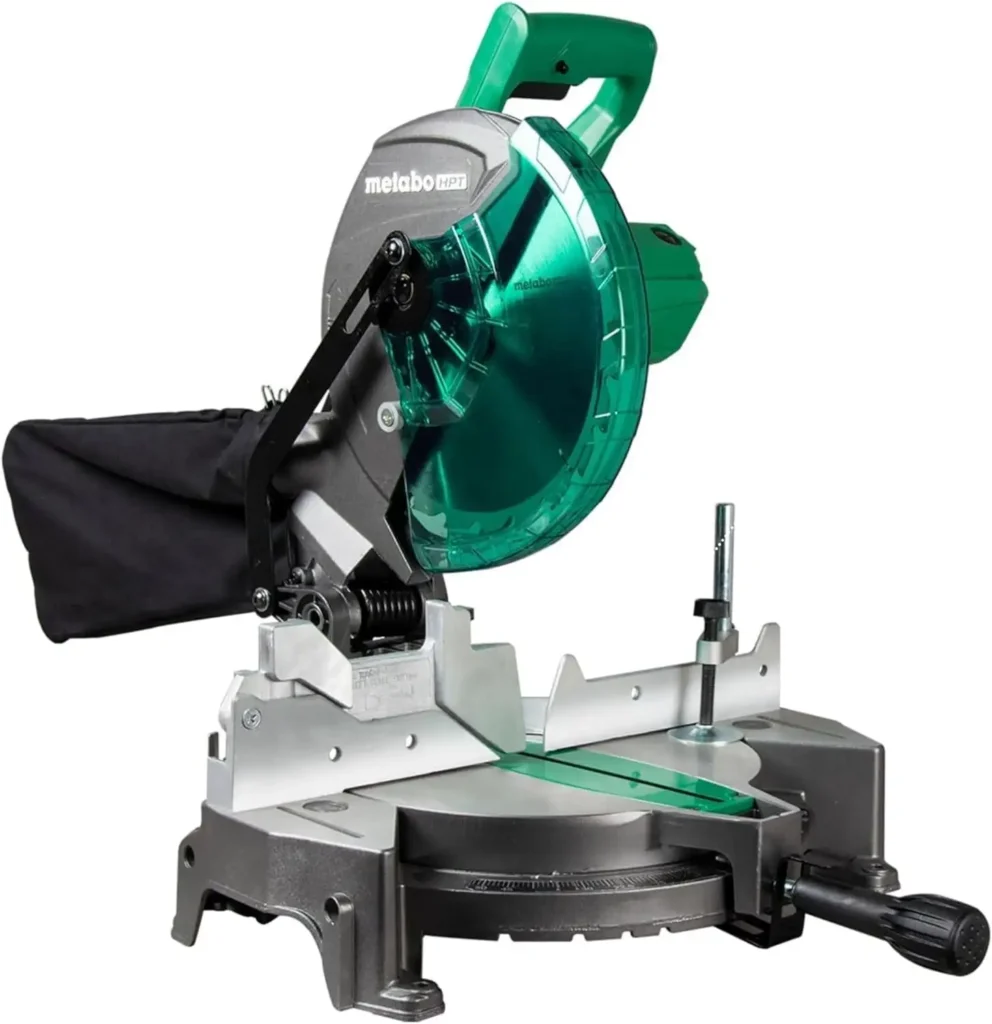
A compound miter saw shines for fancy cuts like crown molding. Your tenon saw and circular saw handles basic, but this saw nails bevels and miters together in one go.
It tilts to 45 degrees and swings 60 degrees each way. Look for clear angle marks and stops at 0, 15, 22.5, 30, and 45 lockable anywhere. A 10” blade cuts 6” wood fine; 12” is bigger but not a must. Sliding ones cost more.
The Band Saw: Cuts curves and resaws lumber
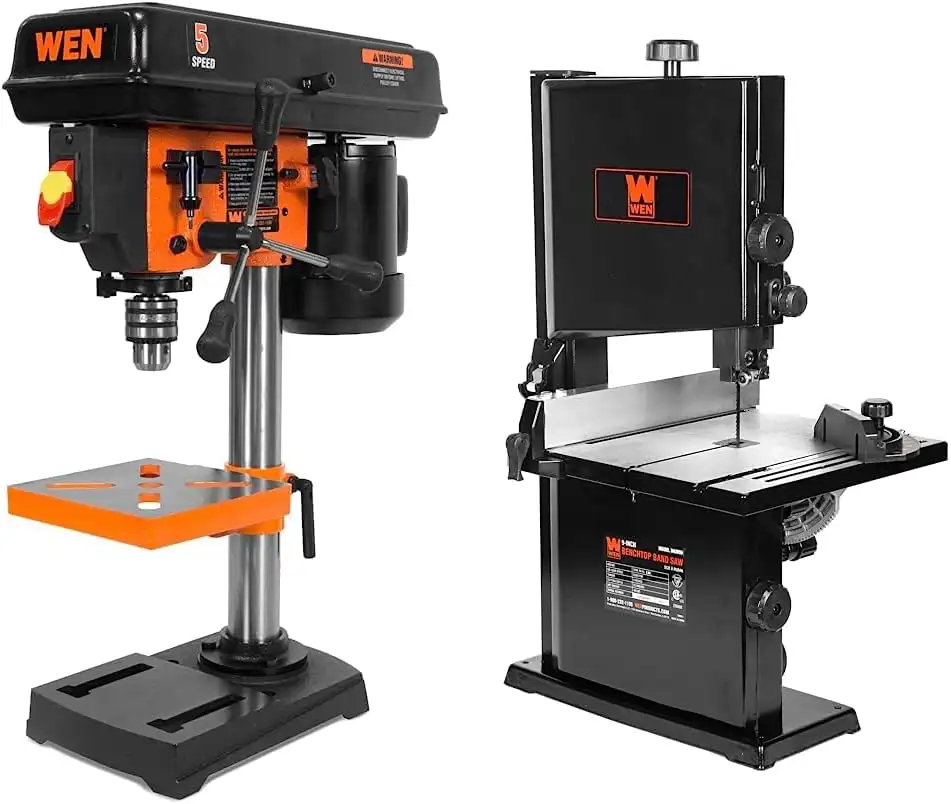
A band saw cuts curves and shapes like nothing else. It also rips thin strips or rabbets. Pick a free-standing one for power or a bench model for less space. Depth of cut (blade to guide) sets stock thickness risers can double it to 12”.
Throat size (blade to frame) sets width 12” to 18” is common. A 1 HP motor works; skip variable speeds unless cutting odd woods. Blades range from 1/8” to 1” for tight or wide curves. Keep tires and brushes fresh for smooth cuts.
The Radial Arm Saw: Crosscuts and rips with a fixed arm
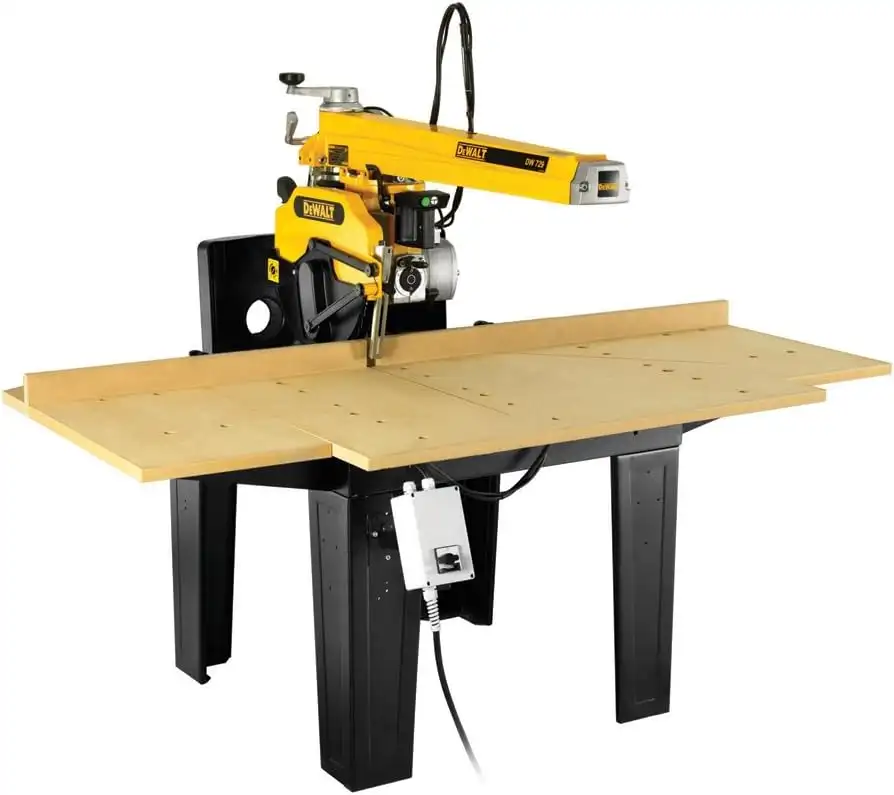
A radial arm saw is big, heavy, and pricey but super handy. It stays put and crosscuts, bevels, or rips. You pull the blade over the wood, so set the fence tight to avoid grabs.
Tilt it back a bit to stop it from creeping. It cuts dadoes too, but the setup takes care. Depth matters it cuts through, so watch your table.
2. Drills and Drivers
The Power Drill: Drills holes and drives screws quickly.
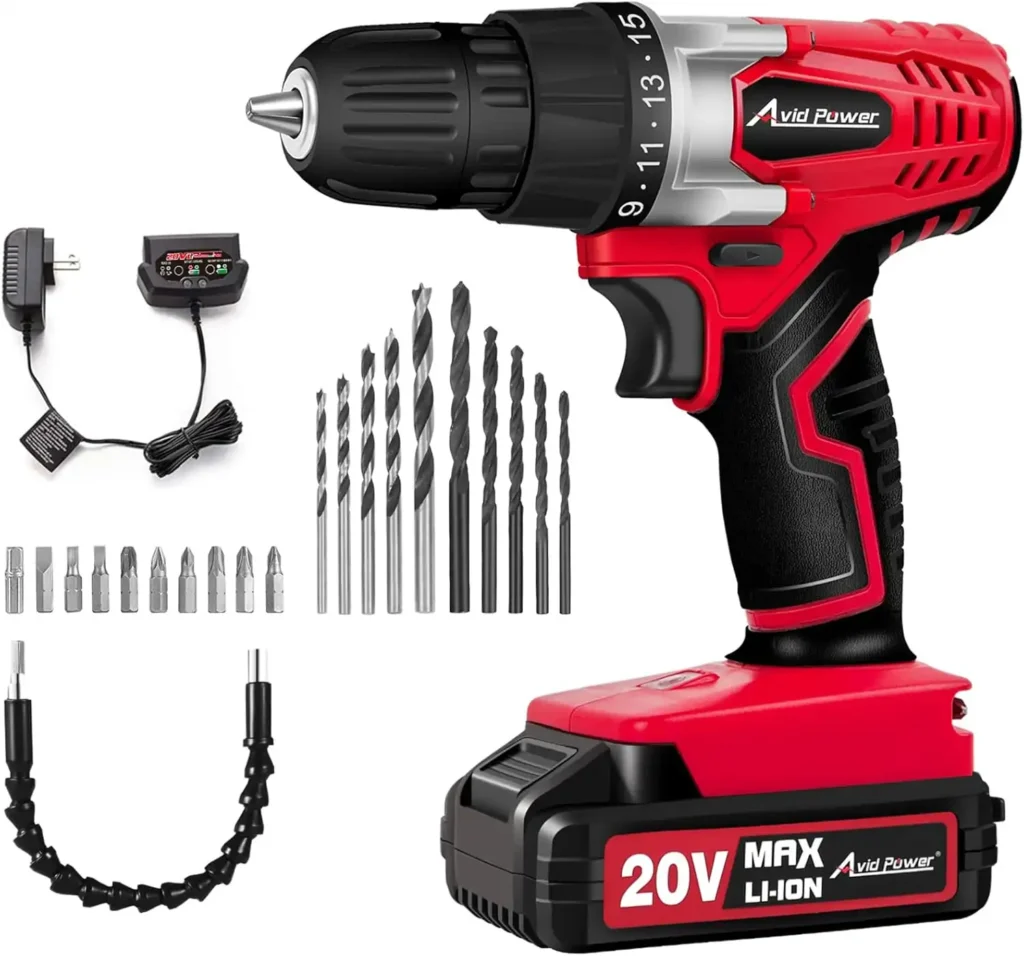
Next up is a power drill. Cordless ones cost more and can’t match a corded drill’s strength. A corded one plugs in and powers through big jobs, like drilling wide holes with paddle bits.
Look for variable speed usually two settings and pick a 3/8” or 1/2” chuck size. The 1/2” takes bigger bits and has more oomph. Keyless chucks twist by hand; keyed ones use a tool both work if they stay tight.
The Drill Press: Ensures perfectly perpendicular holes
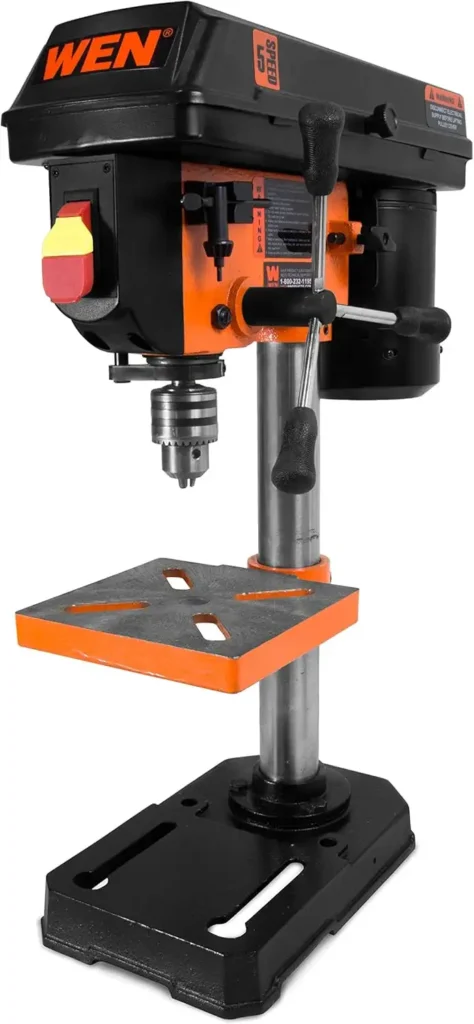
A drill press beats a hand drill for big, straight holes. Set the depth once for repeat cuts. It handles wide bits like Forstner or Spade. Get a bench or floor model floor ones have more juice.
Variable speeds help with different woods; a multi-handle feed gives control. A deep throat cuts bigger stock. Add jigs for square holes or sanding.
3. Sanders
The Palm Sander: Smooths surfaces with ease
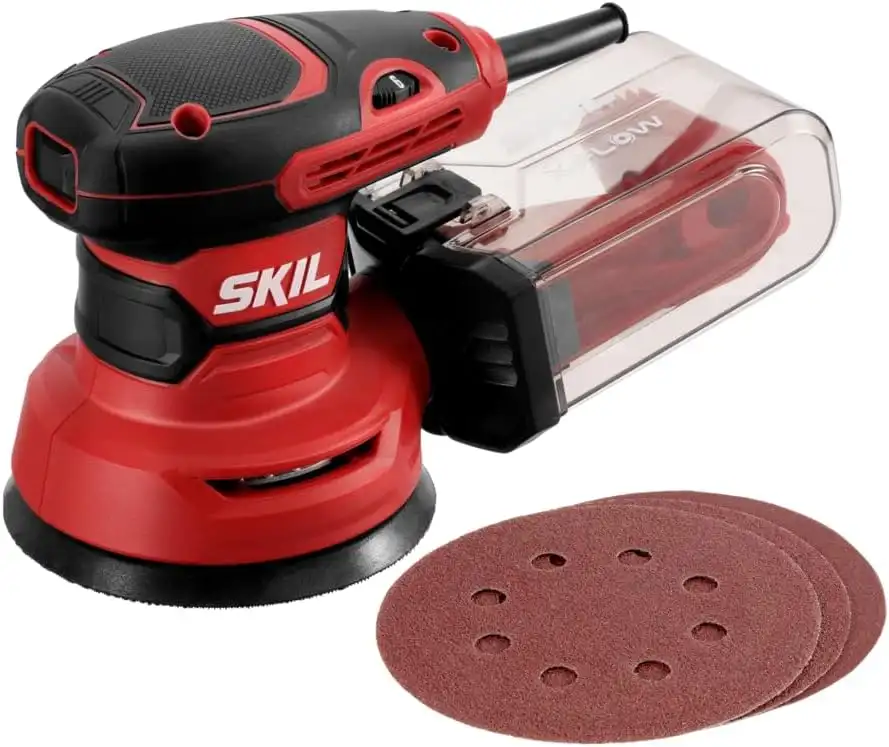
A palm sander smooths wood with a quarter-sheet of sandpaper. It’s small enough for tight spots, but watch out it moves in circles or back and forth and can leave marks if you linger. Keep it sliding over the surface so your stained wood looks clean.
The Random Orbital Sander: Reduces swirl marks for a fine finish
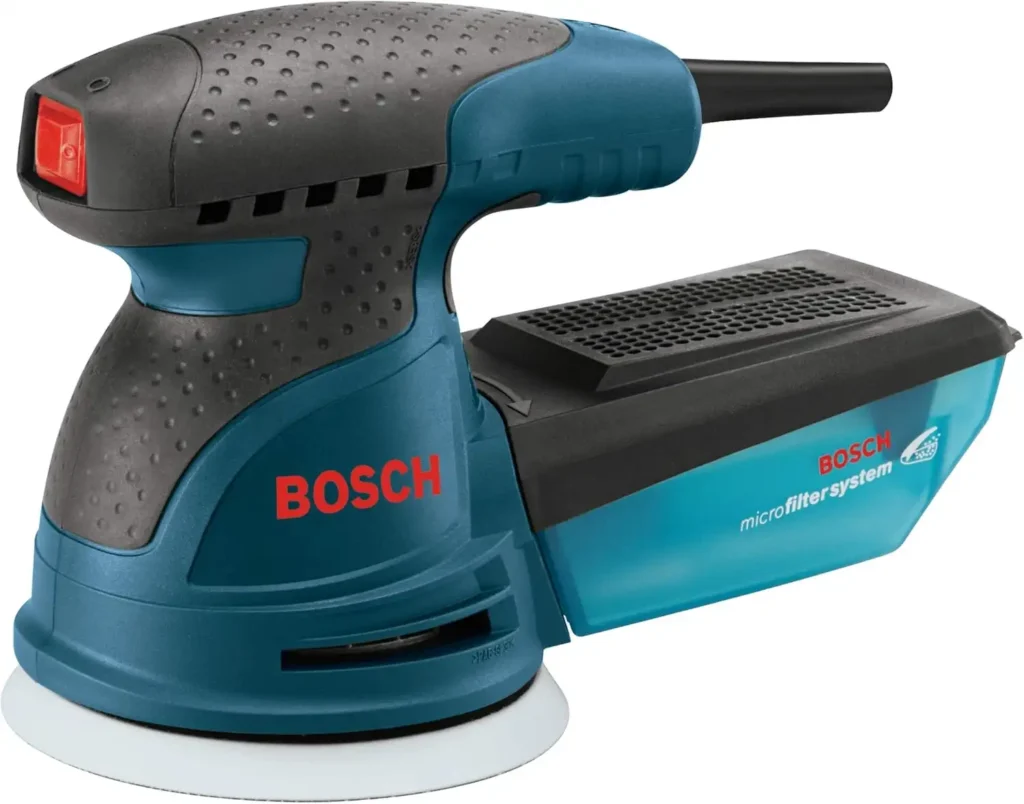
A random orbital sander steps up from the palm sander. It uses Velcro discs that spin every which way, dodging scratch patterns. Just make sure your store stocks discs in all grits or it’s a sander you can’t use.
4. Planers and Joiners
The Surface Planer: Flattens and thins boards
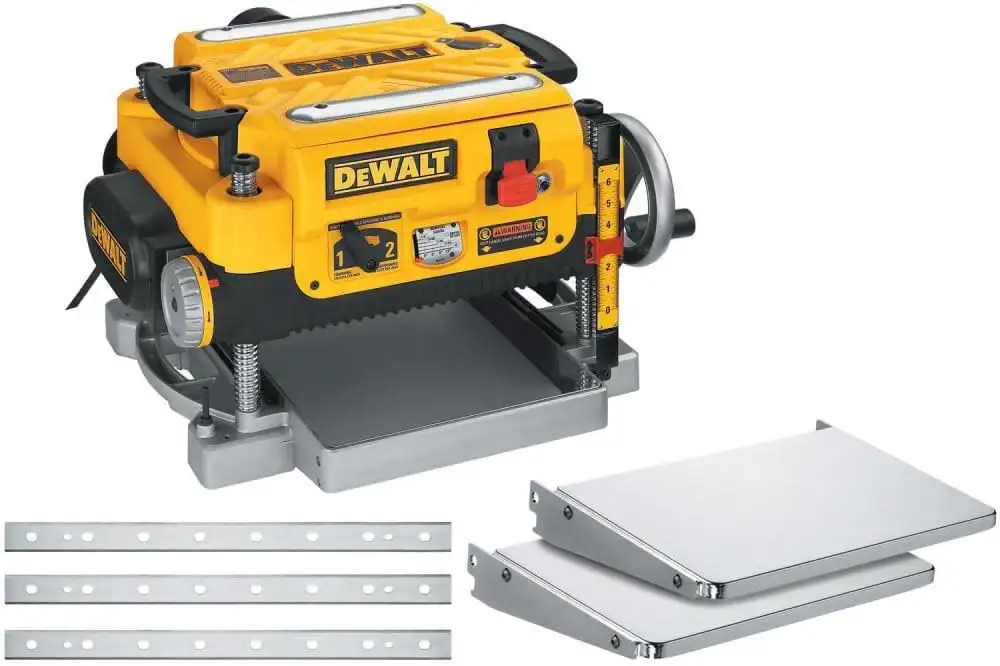
A surface planer smooths wood fast, unlike hand planning. Feedstock (up to 14” wide) through blades shave it even. Crank the depth slowly, maxing at 6”. Rollers pull it steady; pawls stop kickback. Add a dust vacuum it’s messy. Wear ear and eye gear it’s loud.
The Jointer: Squares edges for seamless joints
A jointer flattens and squares the edge clean. Stock rides over a spinning cutter between two tables one low, one high with a fence for guidance.
Push rough wood over it with a stick for a smooth edge. Fix warped boards by cutting ends first. Angle the fence for miters. Take small passes for the best results.
5. Routers
The Router: Shapes edges and cuts decorative profiles
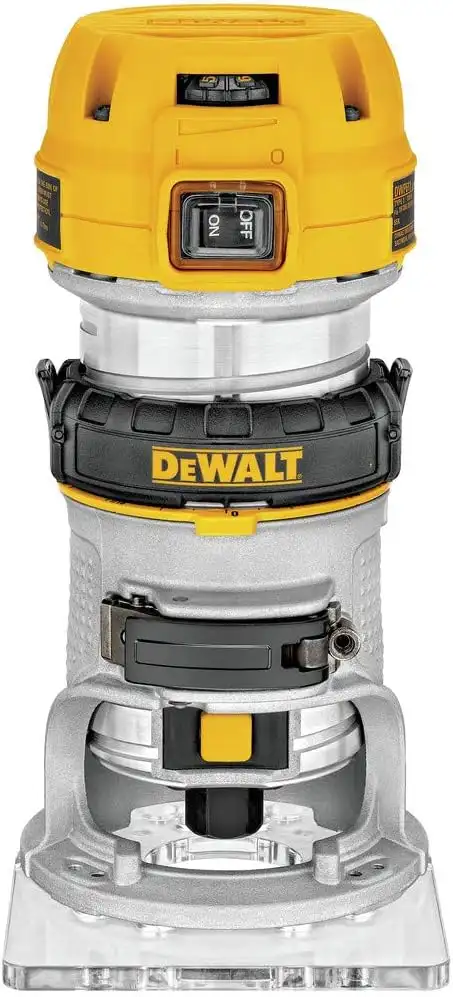
A router shapes wood edges with tons of bit options. Start with a fixed-base one it keeps cuts even. A plunge router dips in and out for mid-wood cuts. Mount it on a table saw with a fence for long runs.
Get at least 2 HP for hardwoods, plus variable speeds big bits need slow spins or they’ll burn. Collets come in ¼” or ½”bigger ones are rarer but steadier. Pick a grip that feels right, with an easy-reach switch.
6. Power Tools You Should Own
Power tools run on electricity and make woodworking faster. We’ll start small and work up to the big ones.
The Nail Guns: Speeds up fastening tasks like framing or trim
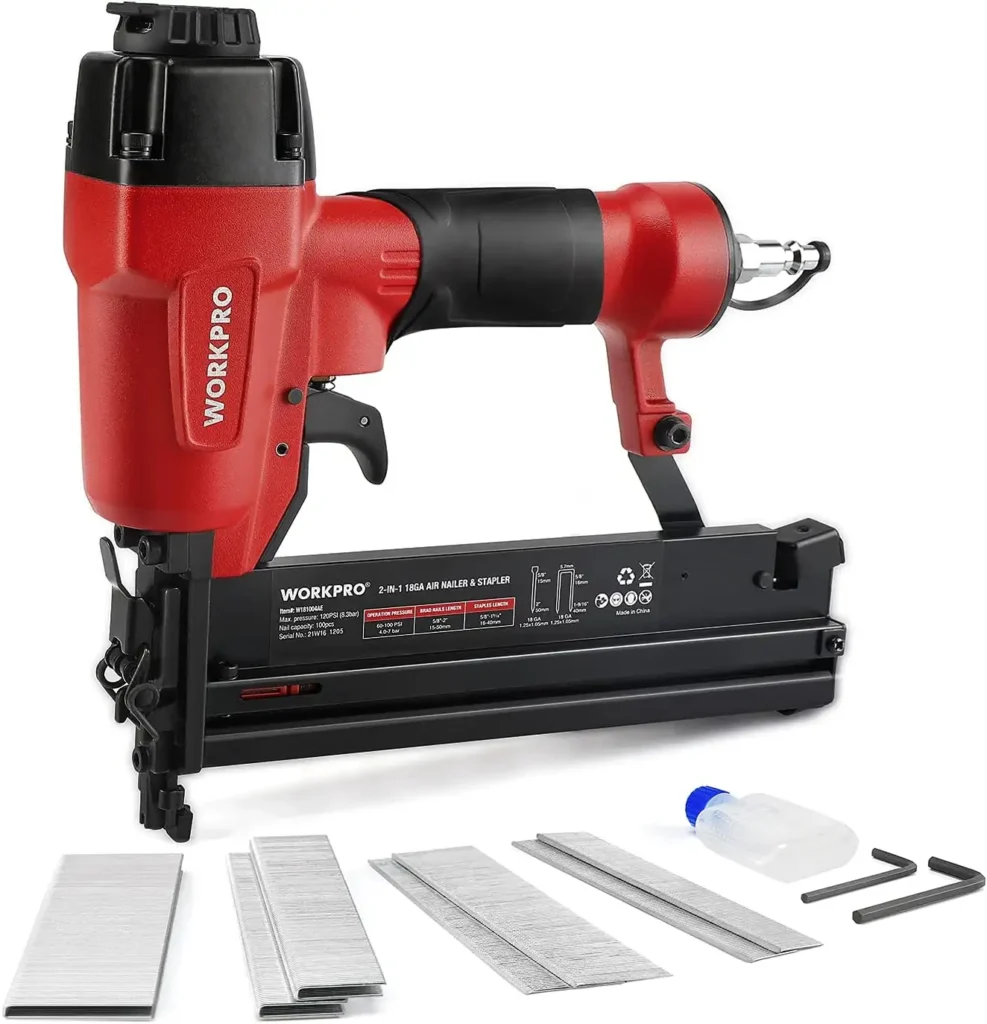
Nail guns make quick work of fastening jobs like framing walls or adding trim. They shoot nails fast and firm way speedier than hammering by hand. Whether you’re building a frame or finishing a room, they save time and effort, getting the job done in a snap.
The Bench Grinder: Sharpens tools and smooths metal edges
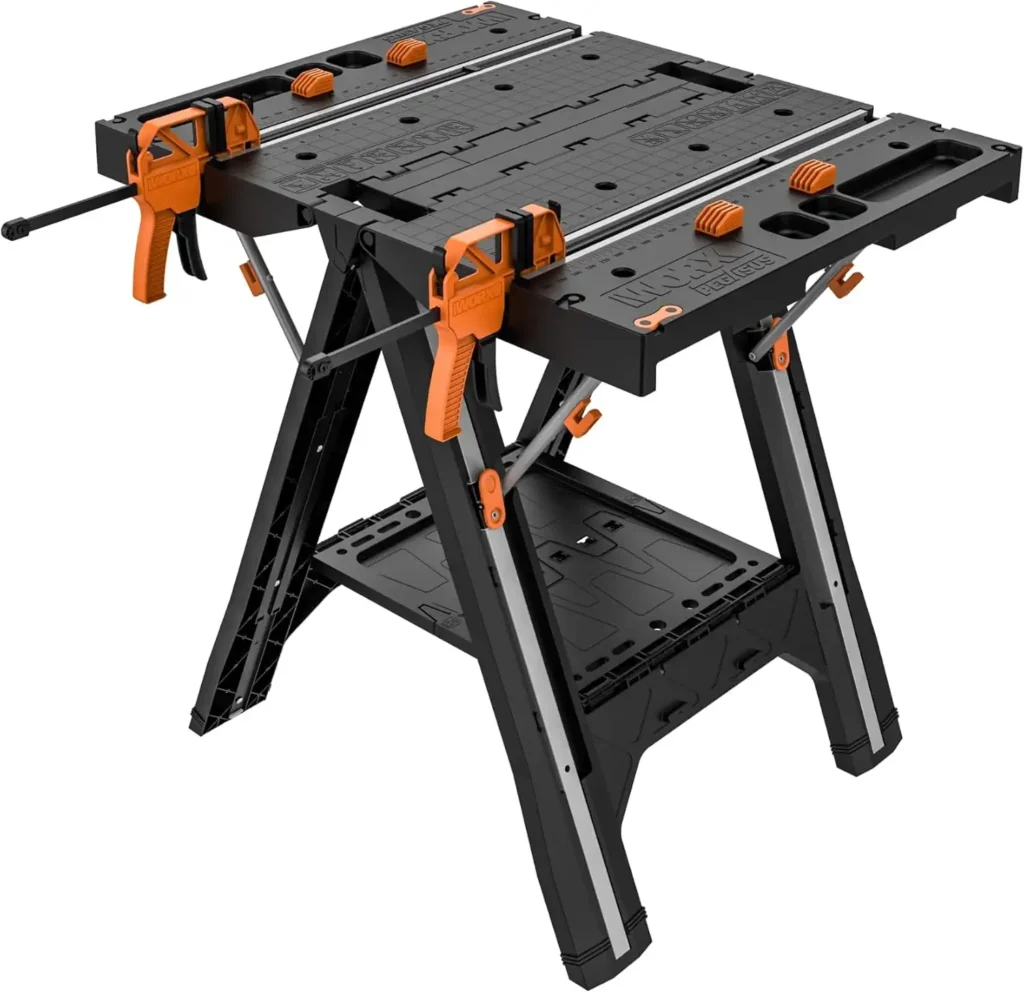
A bench grinder is a shop helper you’ll use a ton. Set it on a stand in a corner it won’t clutter. It sharpens chisels and fixes screwdriver tips quickly. It’s cheap, and saving time on dull tools makes it pay off fast.
The Shop-Vac®: Keeps the workspace clean with powerful suction
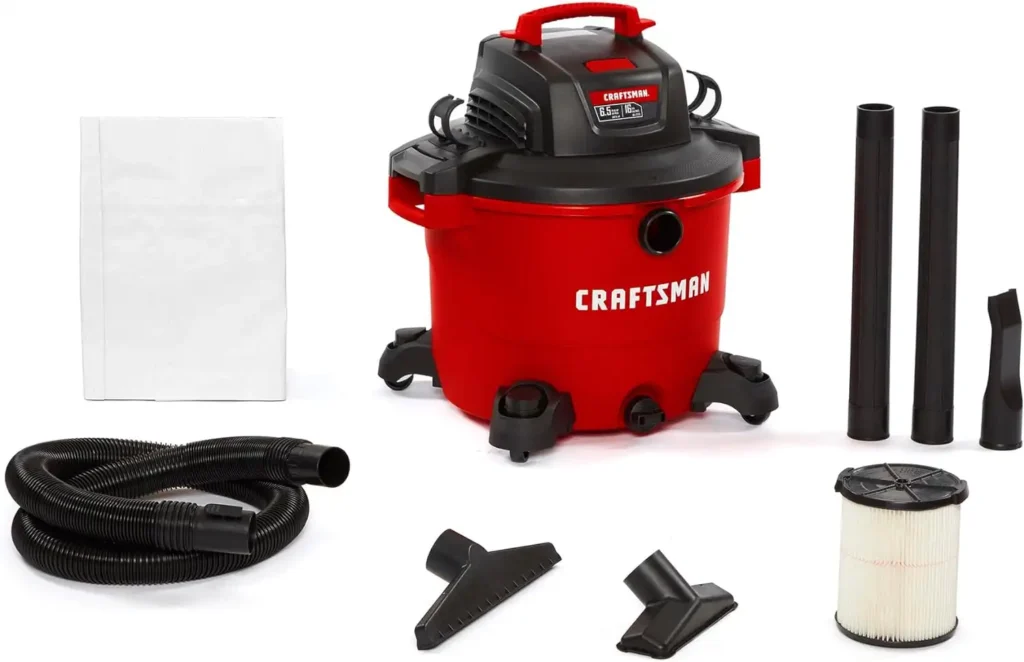
A Shop-Vac might not seem like a woodworking tool, but sawdust in your face changes that fast. Fancy setups have built-in vacuums with hoses you plug in anywhere.
For most, a portable Shop-Vac does the trick clip its hose to your saw with a clamp to suck up dust as you cut. It keeps your work clear. Pick a wet/dry one with strong amps for real power, not a weak motor that fizzles out.
Safety Equipment and Gear

Safety gear protects you. Use push sticks and feather boards right check manuals. Wear safety glasses (not regular ones they break) and earplugs with strings for easy use. It keeps you cutting, not hurting.
Building Your Hand Tool Woodworking Kit
Starting woodworking? You don’t need fancy stuff to begin just a few solid hand tools. Here’s a simple starter kit for beginners:
- Tape Measure: To measure wood accurately.
- Claw Hammer: For driving nails and pulling them out.
- Chisel: To shape and smooth wood.
- Hand Saw: For cutting wood by hand.
- Screwdriver: To put in or take out screws.
These basics will get you going on small projects. As you get better, add power tools like a drill or jigsaw from Section 2 to speed things up and tackle bigger jobs. Happy building!
Beginner Woodworking Projects
Ready to put your tools to work? These easy woodworking projects for beginners are great for testing your skills with a basic kit. Let’s dive in with a clear guide!
- Birdhouse: Grab your hammer, hand saw, screwdriver, and tape measure. Cut wood planks, measure twice for accuracy, and nail them into a simple DIY birdhouse a fun first win!
- Small Shelf: Try a beginner-friendly wooden shelf using a chisel, level, and power drill. Shape the edges, check it’s straight, and drill screw holes for a sturdy shelf you’ll use every day.
- Picture Frame: Use your hand saw, tape measure, and screwdriver. Cut four pieces, measure carefully, and screw them together for a handmade wooden picture frame perfect for gifts!
- Wooden Coaster Set: Pull out your chisel and hand saw. Cut small squares from scrap wood, smooth the edges, and stack a DIY woodworking coaster set to show off your skills.
For detailed woodworking tutorials, check our list of top tools and buy what you need to keep working on beginner carpenter projects. Ready to grow? Add a power jigsaw or sander later for faster cuts and smoother finishes!
Conclusion: 56 Hand Tools for Woodworkers and Carpenters
Whether you’re new to woodworking or getting better, the right tools help a lot. We’ve got a list of 56 simple hand tools like a tape measure, hammer, saw, and screwdriver that are perfect for woodworkers and carpenters.
They’re great for easy projects like building a birdhouse or a picture frame. Look at our top tools list, pick what you need, and start making cool stuff.
With these tools and some easy steps, you’ll be building fun things in no time. Get ready to have a blast woodworking!
Want to dig deeper into woodworking and carpentry? Check out these helpful guides and reviews to boost your skills and pick the best tools. Each one is packed with tips for beginners and pros alike!
- Best Way to Sharpen Carpenter Pencils: Top 5 Tools Guide: Learn the easiest ways to keep your carpenter pencils sharp with the top five tools.
- How to Choose the Right Type of Wood Rasp? A Complete Guide: A simple guide to picking the perfect wood rasp for shaping your projects.
- How to Sharpen Wood Carving Tools? 5 Steps For Perfect Result: Follow these five steps to sharpen your carving tools and get awesome results.
- Teds Woodworking Review – 16,000 Woodworking Projects: Check out this review of Teds Woodworking, with 16,000 project ideas to try.
- 5 Best Carpenter Pencil Sharpeners for Woodworkers in USA: Discover the top five pencil sharpeners every woodworker in the USA should have.
- 5 Best Carpenters Scribing Tool for Easy and Precise Marking: Find the best scribing tools for making accurate marks without the hassle.
- 5 Best Mechanical Carpenter Pencils for Accuracy Measurement: Explore the top mechanical pencils for precise measuring on all your projects.
These resources will help you master your 56 Hand Tools for Woodworkers and Carpenters and make cool stuff fast!
FAQ
What tools does every carpenter need?
Every carpenter needs a chisel. It’s super handy for cutting and shaping wood just right.
What is the most important hand tool for a carpenter?
A chisel! It’s the best for making neat joints and fixing edges on wood projects.
What power tool is most used by carpenters?
Drills and saws are tops! A cordless drill makes holes, a circular saw cuts straight, and a jigsaw does curvy cuts.
What do you need to be a carpenter?
You need a high school diploma and to join an apprenticeship. It teaches you tools, building, and safety.
Want more? Check out How to Get Your Carpenter’s License: Simple 5-Step Guide for an easy path to becoming a carpenter!
What wood stuff sells the most?
People love buying games, picture frames, trays, cutting boards, candle holders, dog beds, and wall art.

