If you are looking for how to remove keycaps without tool? Don’t worry! This article will guide you through simple and easy DIY methods to remove keycaps without needing any tools.
Whether you have a mechanical keyboard or a laptop, these techniques will help you clean or replace your keycaps effortlessly. Let’s dive in!
Keyboards are essential tools for daily life tasks but can get dirt and debris over time. Removing keycaps is a great way to clean or replace them for a fresh and comfortable typing experience.
While a keycap puller or other tools designed for this purpose is recommended, we understand that only some have access to these tools. But fear not! We have some practical methods that require everyday items you might have lying around.
Table of Contents
5 Easy DIY Methods: How to Remove Keycaps Without Tool
1. Gently Pulling the Keycap
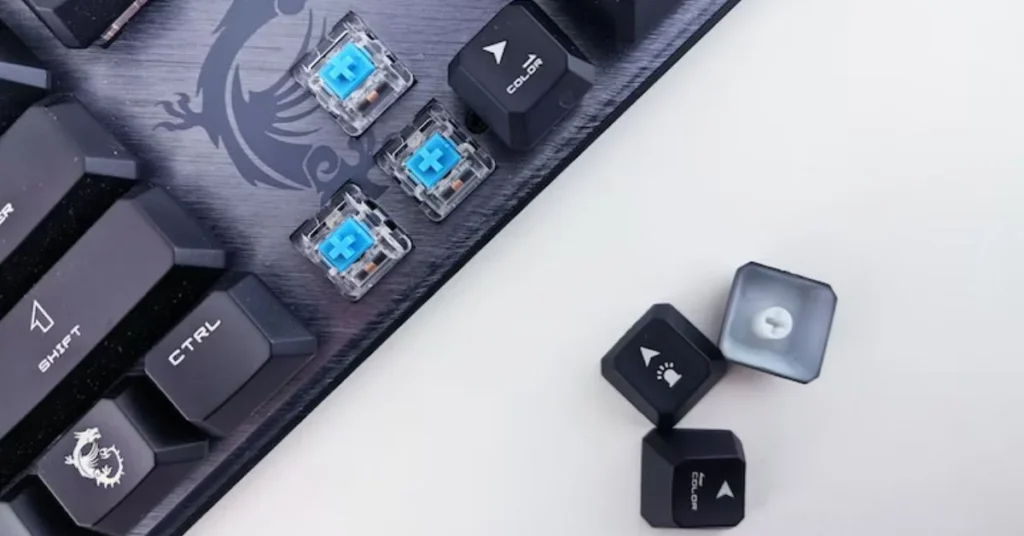
One of the easiest methods to remove keycaps without a tool is by gently pulling on the keycap itself. Start by locating the key you want to remove and position your fingers on both sides of the key. Next, apply even pressure and pull upwards.
Many keyboard keys are designed to snap on and off, allowing you to remove them with this method. However, larger keys, such as the spacebar, might require more force or a slightly different approach.
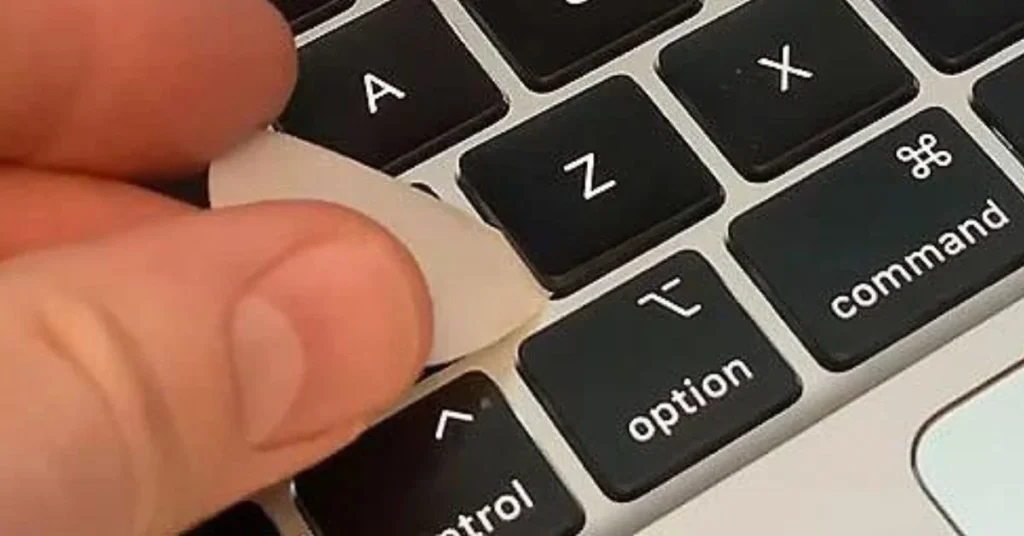
2. Using a Paper Clip
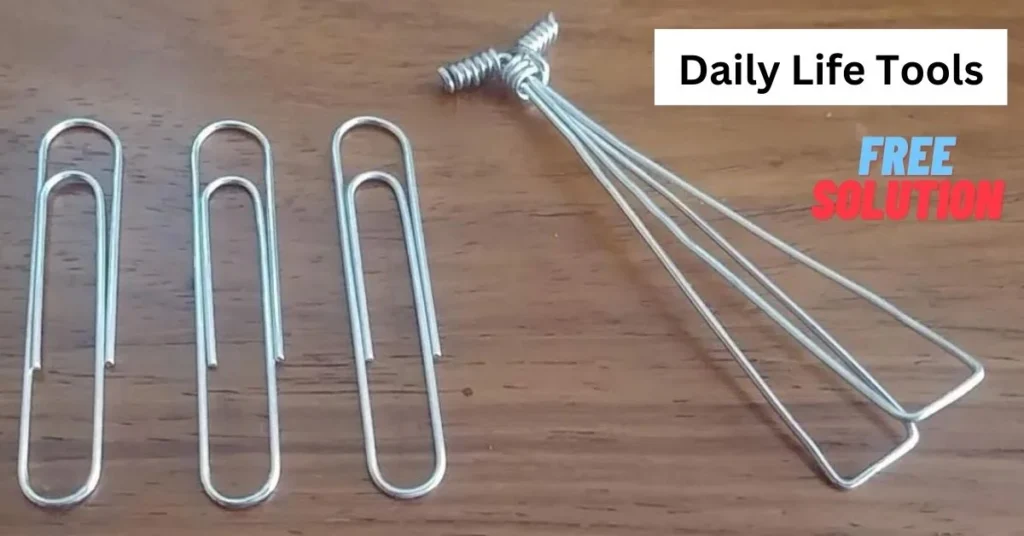
If the keycap is stubborn and doesn’t come off quickly, a paper clip can be a handy tool alternative. Straighten out a paper clip and form a small hook at one end. Insert the hook under the keycap, catching onto the sides of the key.
Gently push upwards while applying even pressure on both sides. The keycap should start to loosen, allowing you to remove it without damaging the key or the keyboard.
3. Leveraging a Flat Head Screwdriver
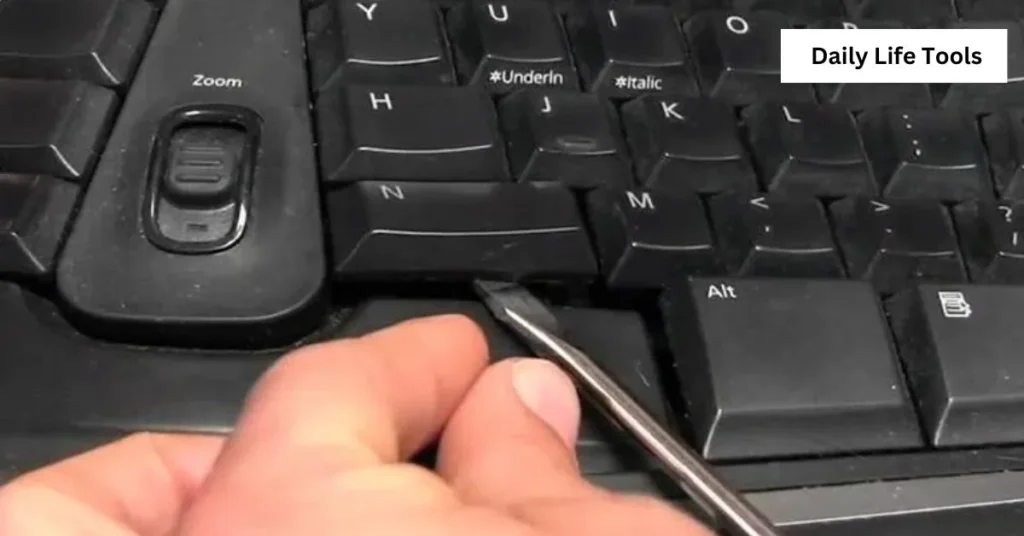
Another tool commonly found in most households is a flat-head screwdriver. While it’s not the ideal option, it can still remove keycaps.
First, wrap the screwdriver’s tip with a soft cloth or tape to prevent scratching the key or the keyboard.
Next, insert the screwdriver under the keycap, leveraging it to lift the keycap upwards. Again, be cautious and gentle to avoid damaging the keyboard or keycap.
4. Using Your Fingernail
If you have strong and long nails, they can be surprisingly effective in removing keycaps.
First, position your nail at the base of the keycap, where it meets the keyboard.
Then, apply upward pressure while wiggling the keycap back and forth. The keycap should start to loosen, enabling you to remove it altogether.
5. Compressed Air
Compressed air can be efficient if you aim to clean the keyboard rather than replace the keycaps. Turn the keyboard upside down or at an angle and use compressed air to blow out any dust or debris stuck beneath the keycaps.
This technique helps maintain a clean and functional keyboard without removing the keycaps.
Is it safe to remove keycaps without a tool?
Removing keycaps without a tool is safe. The answer is Yes. Removing keycaps without a tool is possible, and there are methods you can use to achieve this. While using a trustworthy keycap puller is often recommended for safe removal, there are alternative choices you can consider.
One method applies using daily life items like a paper clip, credit card, house key, knife, or even an outdated PC chassis to apply pressure and lift the keycap gently. It’s vital to be careful when using these items to avoid damaging your keycap or the keyboard.
Here are the important steps to remove keycaps without a tool:
- Keep your keyboard dry and safe on your desk.
- Use a twisted paper clip, credit card, or another flat object for leverage.
- Align the item beneath the keycap you want to remove with its sides.
- Gently lift and rock the item.
- Lift the keycap. Keep pressing until the keycap comes off.
This method can work, but it’s not as secure or exact as a keycap puller. If done improperly, alternative things may scrape the keycap or keyboard. Carefully remove keycaps without a tool.
Some keyboard sales kits contain a keycap puller. Use a keycap puller for safe, easy keycap removal.
Keycap design and attachment mechanisms vary for each keyboard. For optimum results, consult the keyboard manufacturer’s instructions or model-specific tutorials, if available.
Avoid damaging your keyboard and keycaps when removing them without a tool.
What are some other tools I can use to remove keycaps?
When it comes to removing keycaps, one of the most recommended tools is a keycap puller. Keycap pullers are small accessories designed to wrap around a keycap, allowing you to pull it out without causing damage to the keycap or the switches they’re attached to.
You can find keycap pullers available for purchase online, including popular marketplaces like Amazon. They usually come in two types: wire and plastic pullers, both of which work similarly and are suitable for the task.
If you don’t have a keycap puller, you can use a few alternative tools. Some people suggest using a fork or a butter knife. Still, it’s important to note that these tools can potentially damage the keycaps or the keyboard, so using a proper keycap puller is generally recommended.
Another choice is to create a DIY keycap removal tool using a bent paperclip. By bending a paperclip into a “U” shape and bending both ends inwards, you can create a makeshift tool that can be used to remove keycaps.
Remember to exercise caution when using any tool to remove keycaps and to be gentle to avoid causing damage. Additionally, it’s advisable to turn off and unplug your keyboard before removing keycaps, primarily if your keyboard has LED backlight illumination, to avoid any unwanted surprises.
Conclusion
Removing keycaps without a specialized tool is possible with these simple DIY methods. Whether you’re seeking to clean your keyboard or replace keycaps for a new look, these techniques can help you achieve your goal.
Remember to be gentle, apply even pressure, and take extra care when handling larger keys. Happy keycap removal, and enjoy a clean and comfortable typing experience!
FAQs:
Q: Can I remove keycaps from a laptop keyboard using these methods?
A: Yes, these methods apply to laptop keyboards as well. However, be extra careful and gentle when removing keycaps from laptop keyboards to avoid damaging the keys or the keyboard itself.
Q: Are these methods suitable for mechanical keyboards?
A: Yes, these methods work for mechanical keyboards as well. However, remember that mechanical keyboard keys are often designed differently, and some keycaps may require more force or a specific technique to remove them.
Q: Can I use a screwdriver or a knife to remove keycaps?
A: While a screwdriver or a knife can be used, they have the potential to scratch or damage the keycaps or the keyboard. Therefore, it’s recommended to use alternative methods mentioned in this article to minimize the hazard of damage.
Q: How often should I clean or replace keycaps?
A: The frequency of cleaning or replacing keycaps depends on your usage and personal preference. If you notice dirt buildup, stickiness, or a decline in typing comfort, cleaning or replacing the keycaps is a good idea.
Q: Are there specific tools available for removing keycaps?
A: There are specialized tools called keycap pullers explicitly designed for removing keycaps. These tools provide a safer and more efficient way to remove keycaps without risking damage to the keys or the keyboard.
Related Article: https://dailylifetools.com/the-power-of-weather-guard-tool-box-locks/